
We love Sherry Dusky Rinker Books
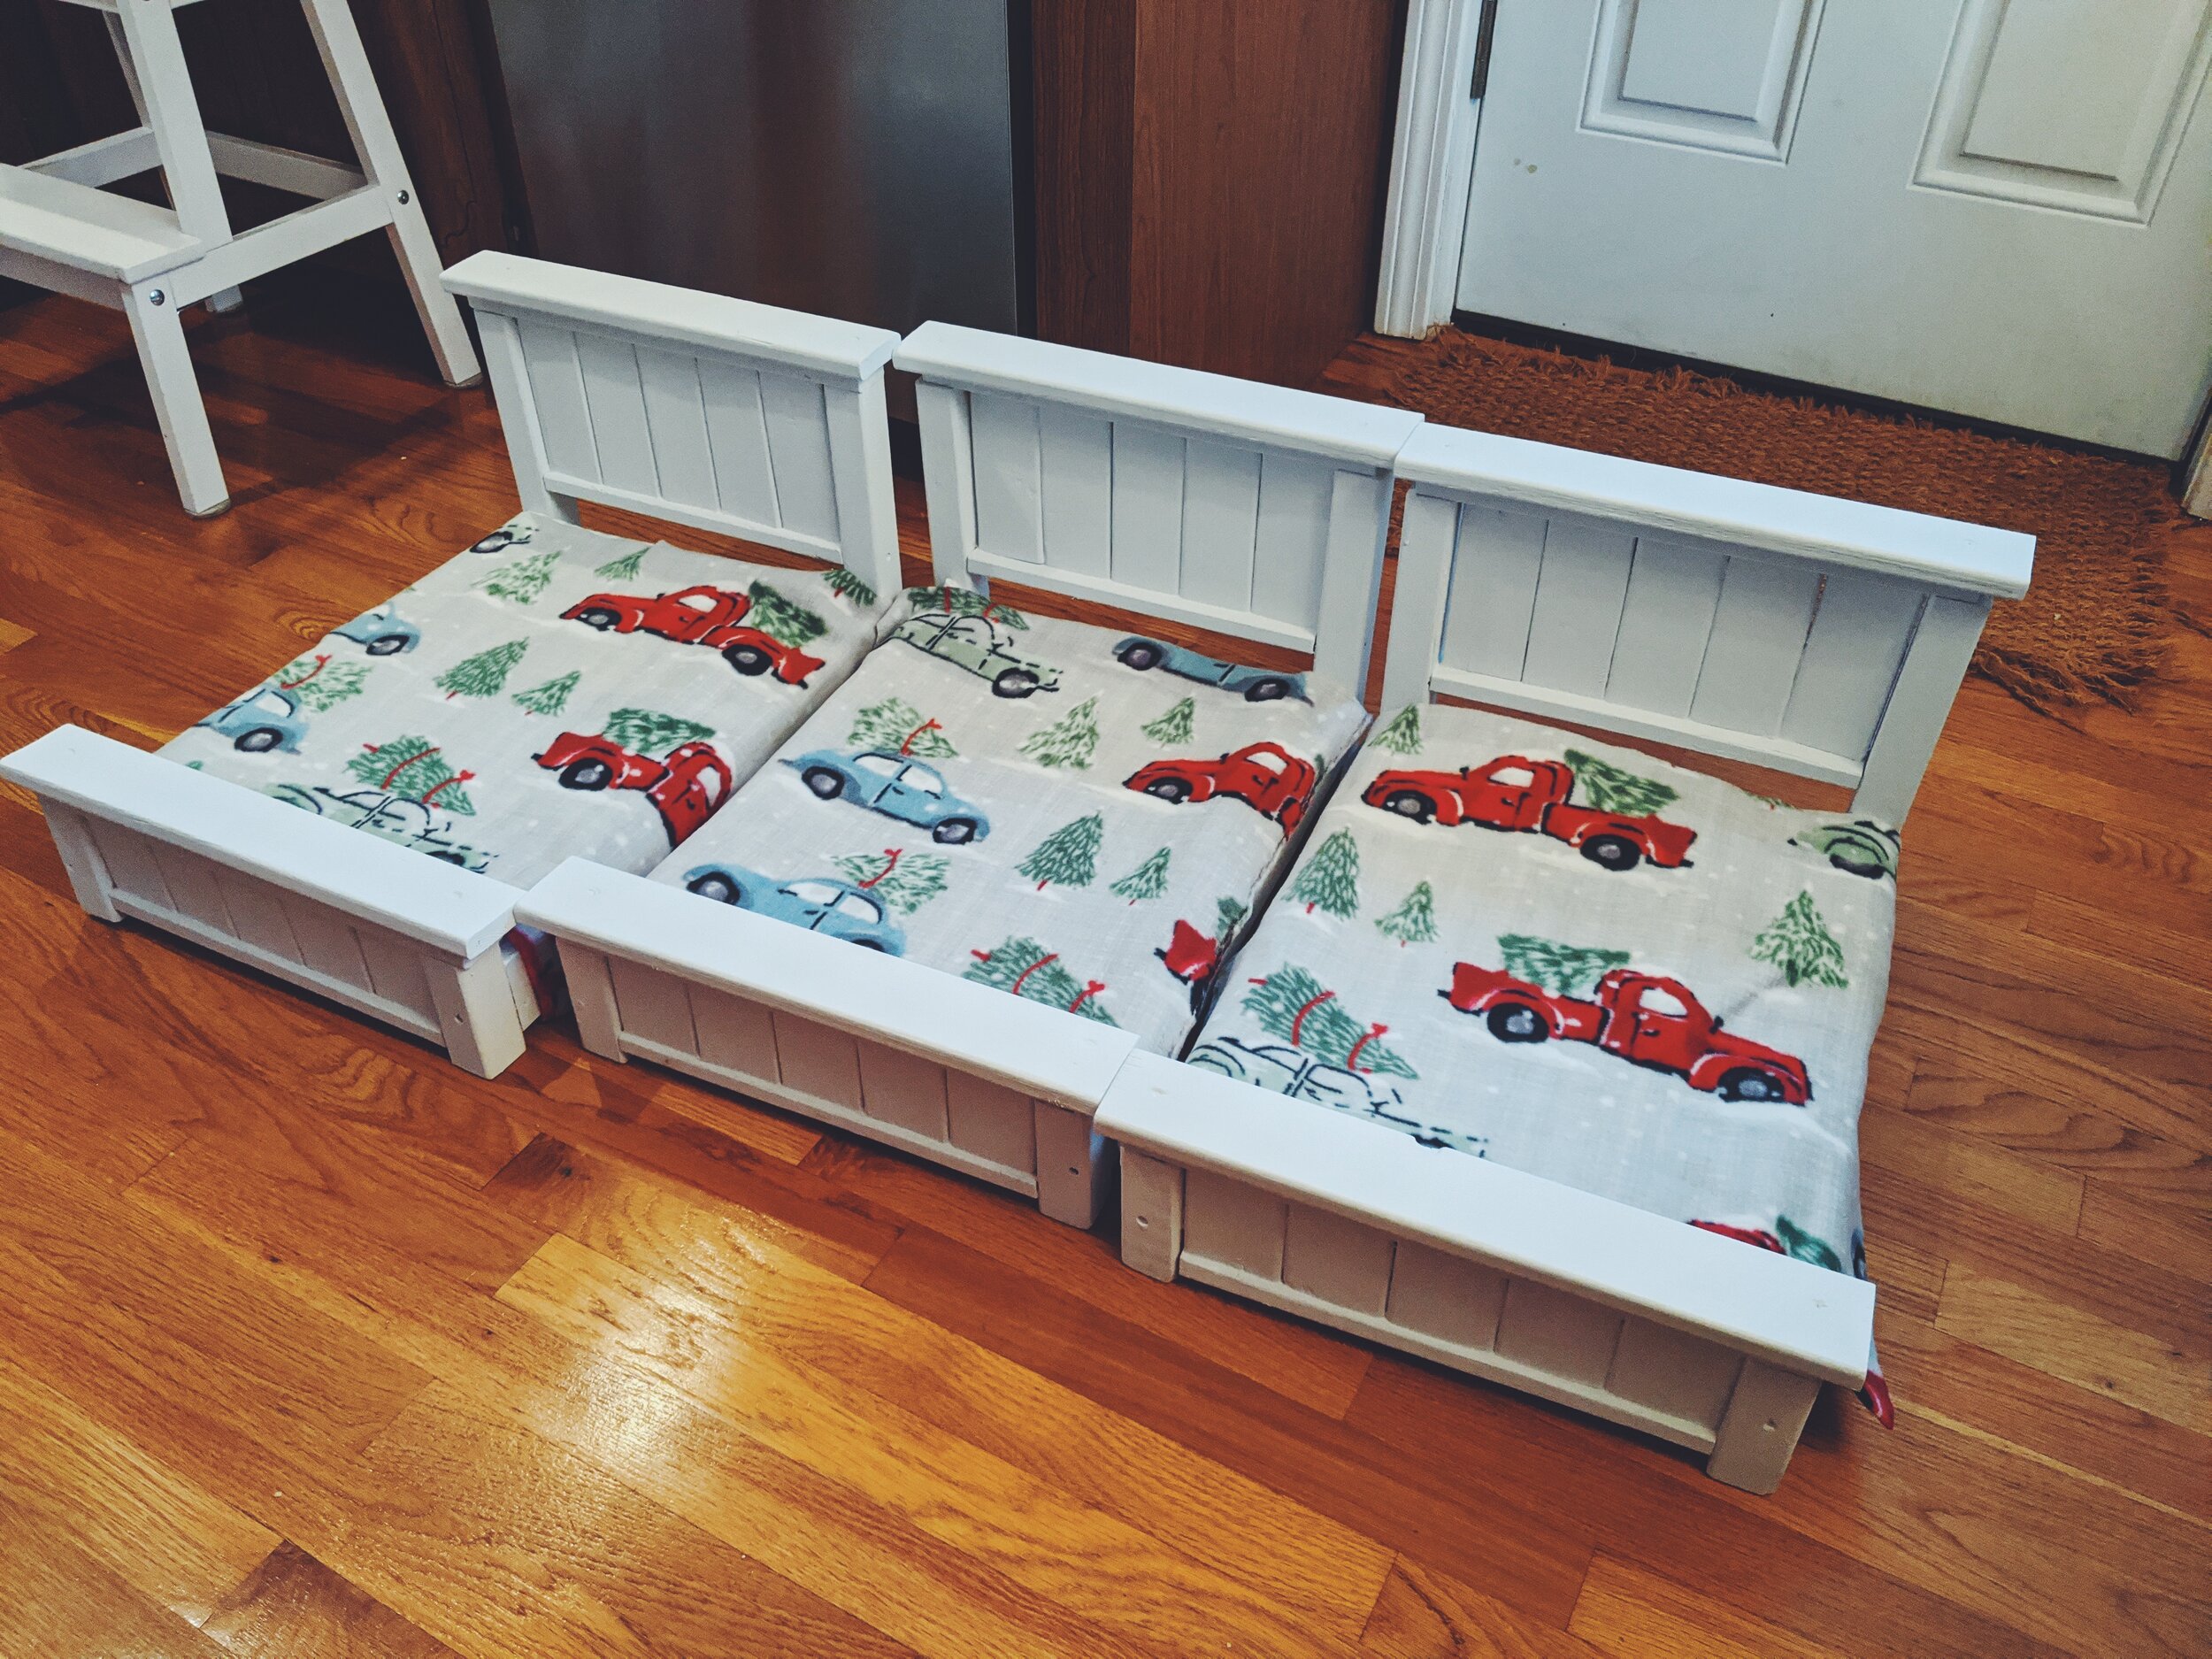
Let me tell you, this little night stand is super easy to make and perfect next to floor beds and/or for small spaces. The best part about making your own furniture is that you can customize pieces to your space. For this nightstand, the most important thing is knowing the height of your bed frame and mattress so you can match that height with your nightstand and overall how much space you have and want to take up. The one I made is super slim and low profile, but if you have a bigger space, scale up to have it fit the space. If you have questions on how to do that, comment below or DM me on Instagram.
I based my nightstand on the tutorial by Anika’s DIY Life Blog: DIY kids bedside table with book storage and did what I said above, tweaked it for my space. (My son has this Zinus mattress which is 12” high. It is currently on the floor but I do plan to make a thin frame for it at some point to let the mattress breathe a little. I don’t anticipate this lifting it more than an inch or two off the ground.)
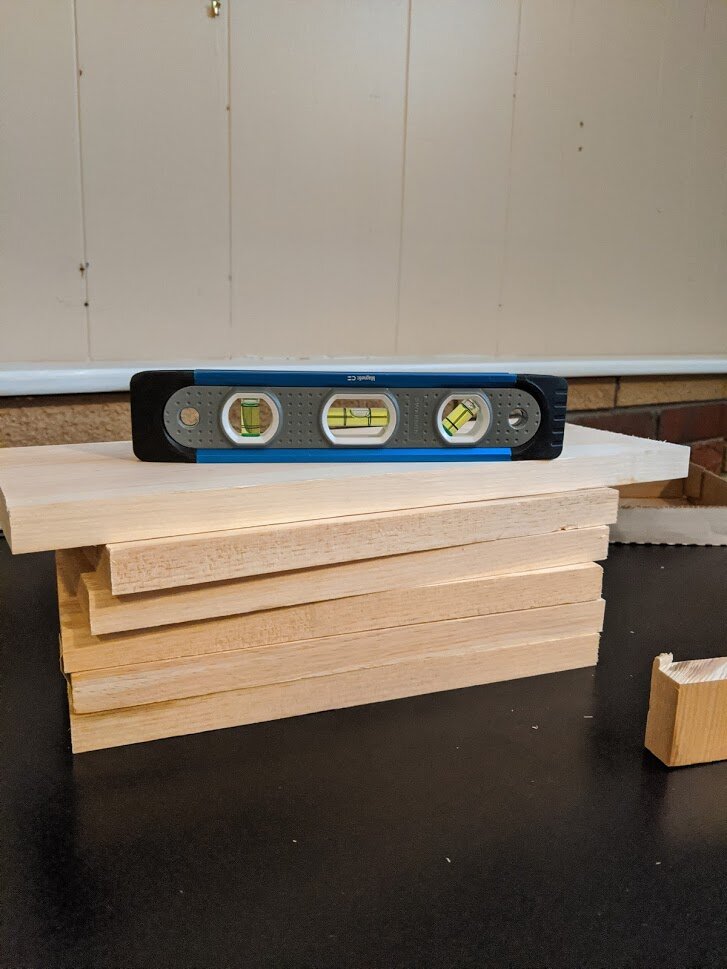
I’ll let you head over to Anika’s DIY post for a detailed list of materials and instructions for the original nightstand. For my measurements, see below. I challenged myself to only buy one piece of wood, so I chose a 1 x 6 (which actually measures to approximately .5 x 5.5). I had Home Depot make the cuts for me because this was pre-quarantine. The top piece is 15” long and the sides, bottom and back are all 11” long. I like to keep things simple. I decided not to include a bar across the front but if you want one, it would just need to be the same length as the back piece. I also did not add the little shelf as the height of mine just felt so small already. I do think it would be cute for toddler trinkets though. If I were to make another, I’d probably add that in.
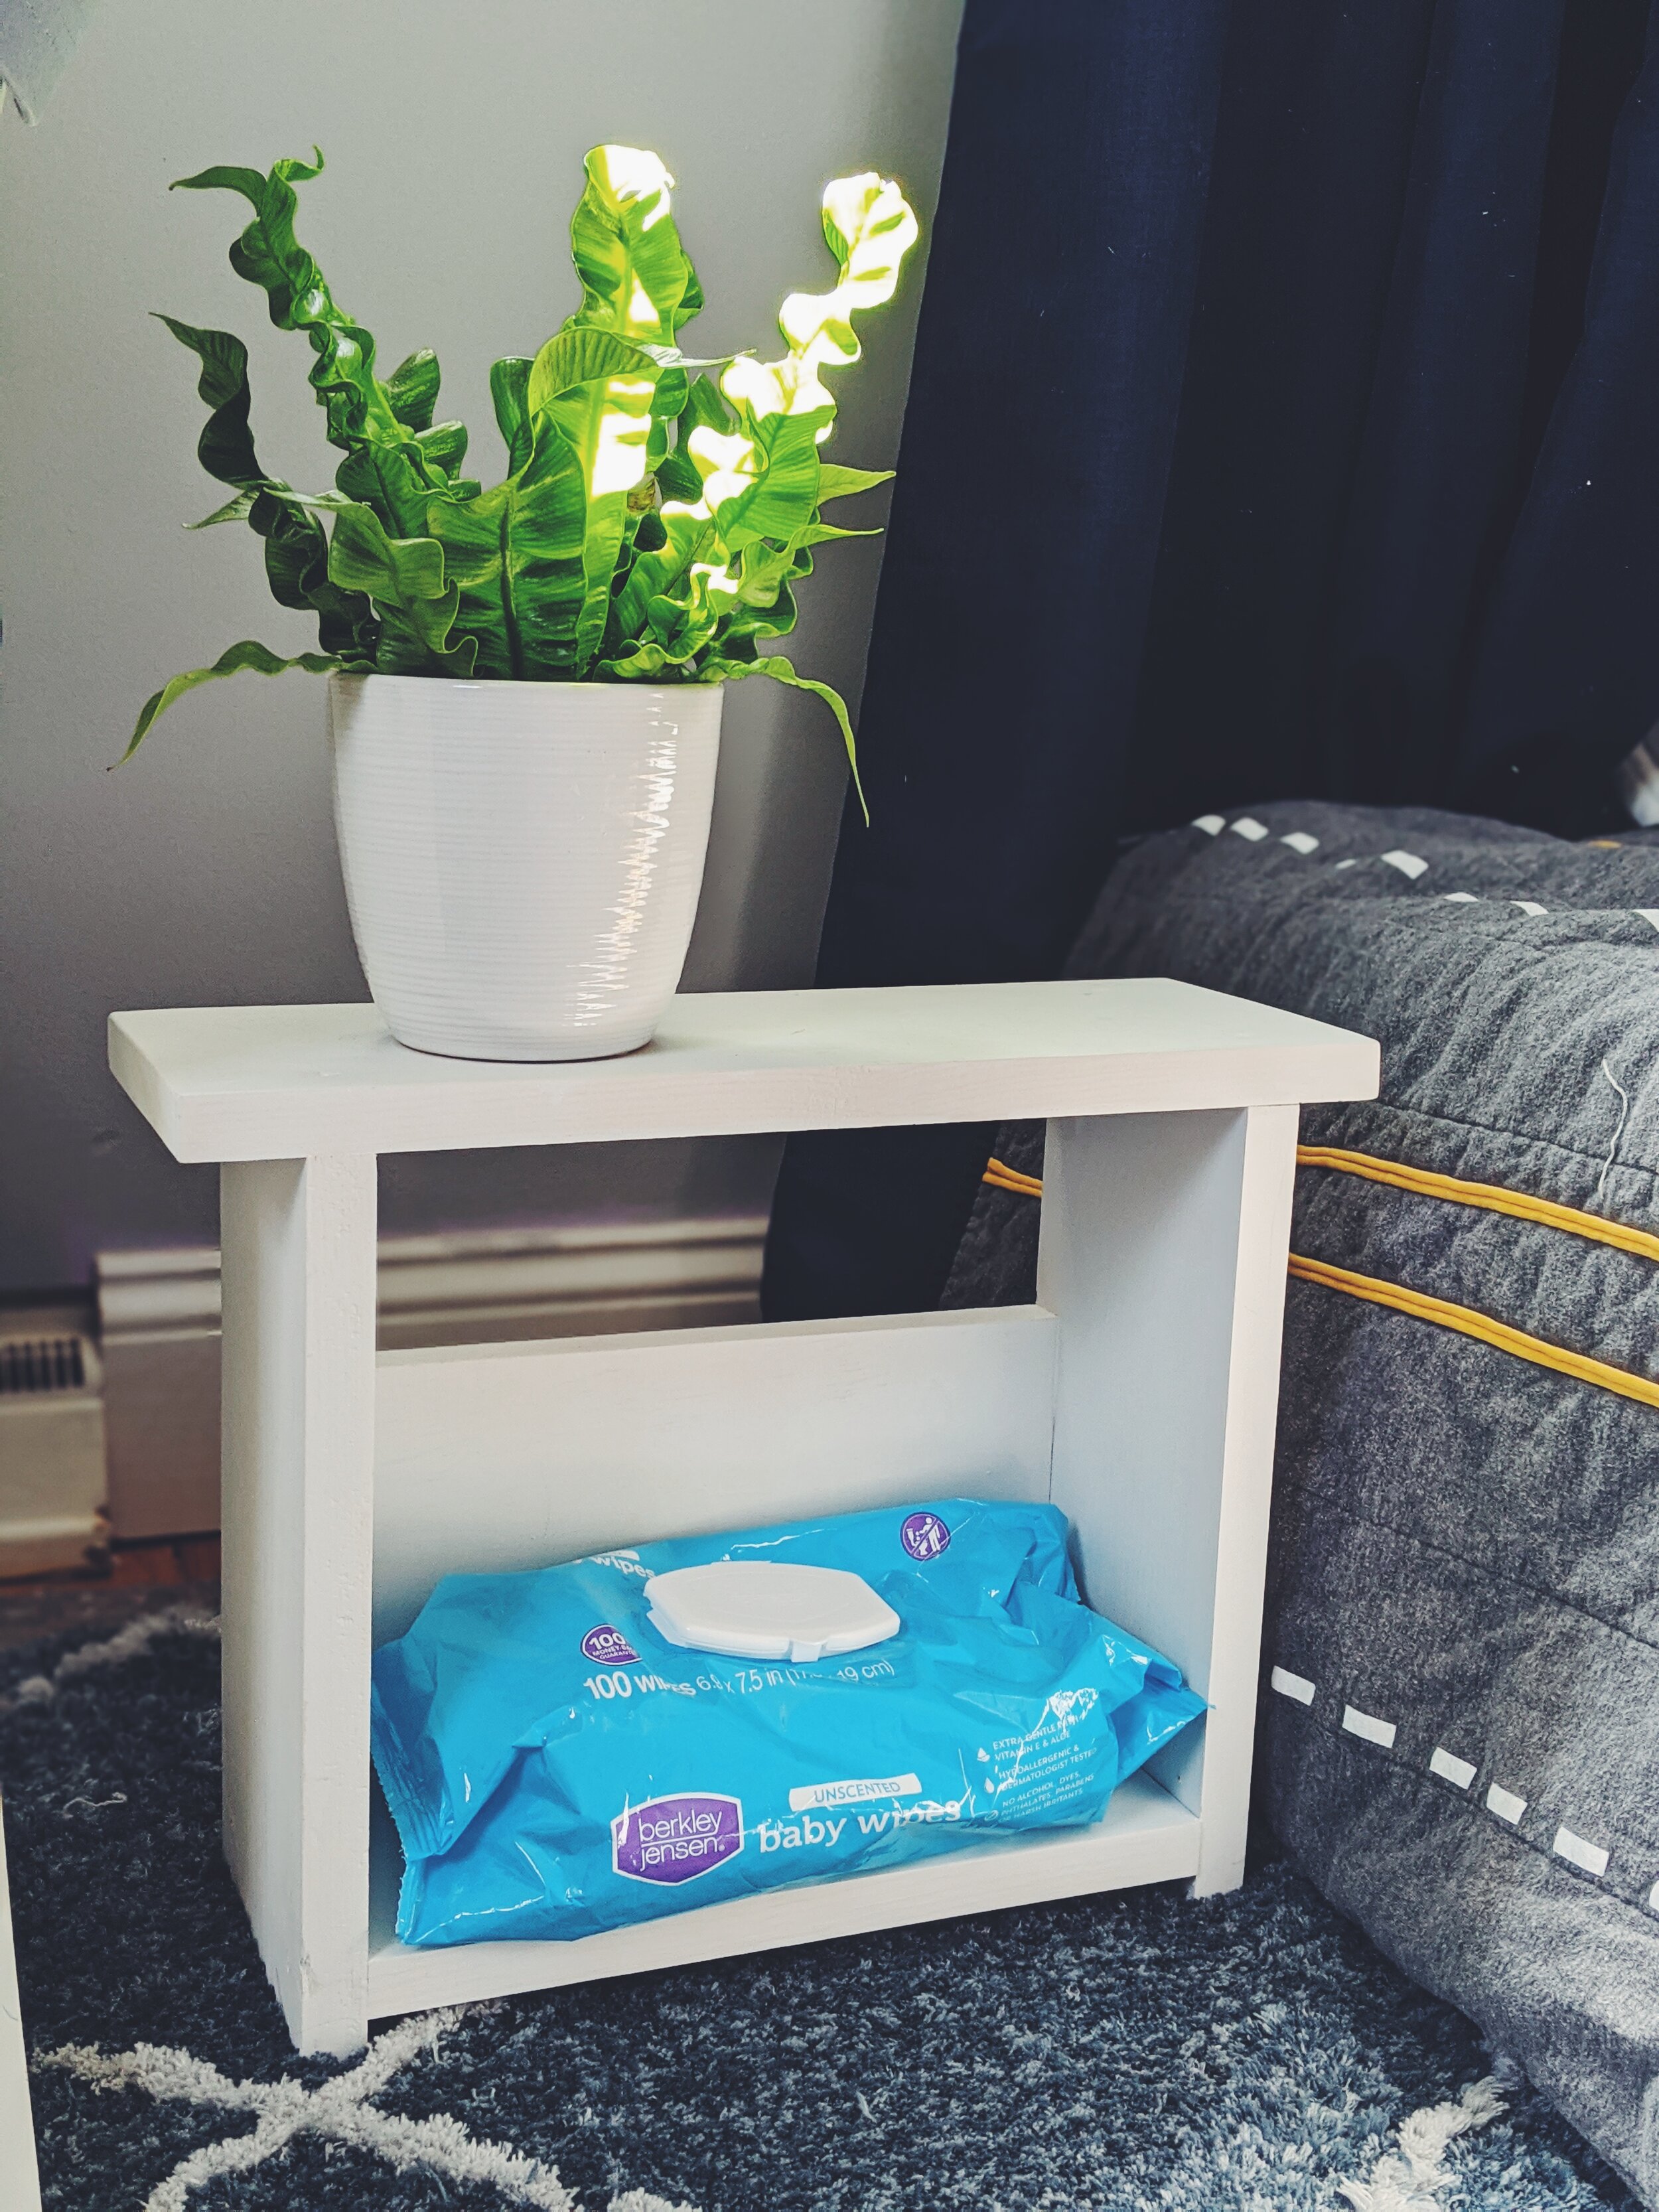
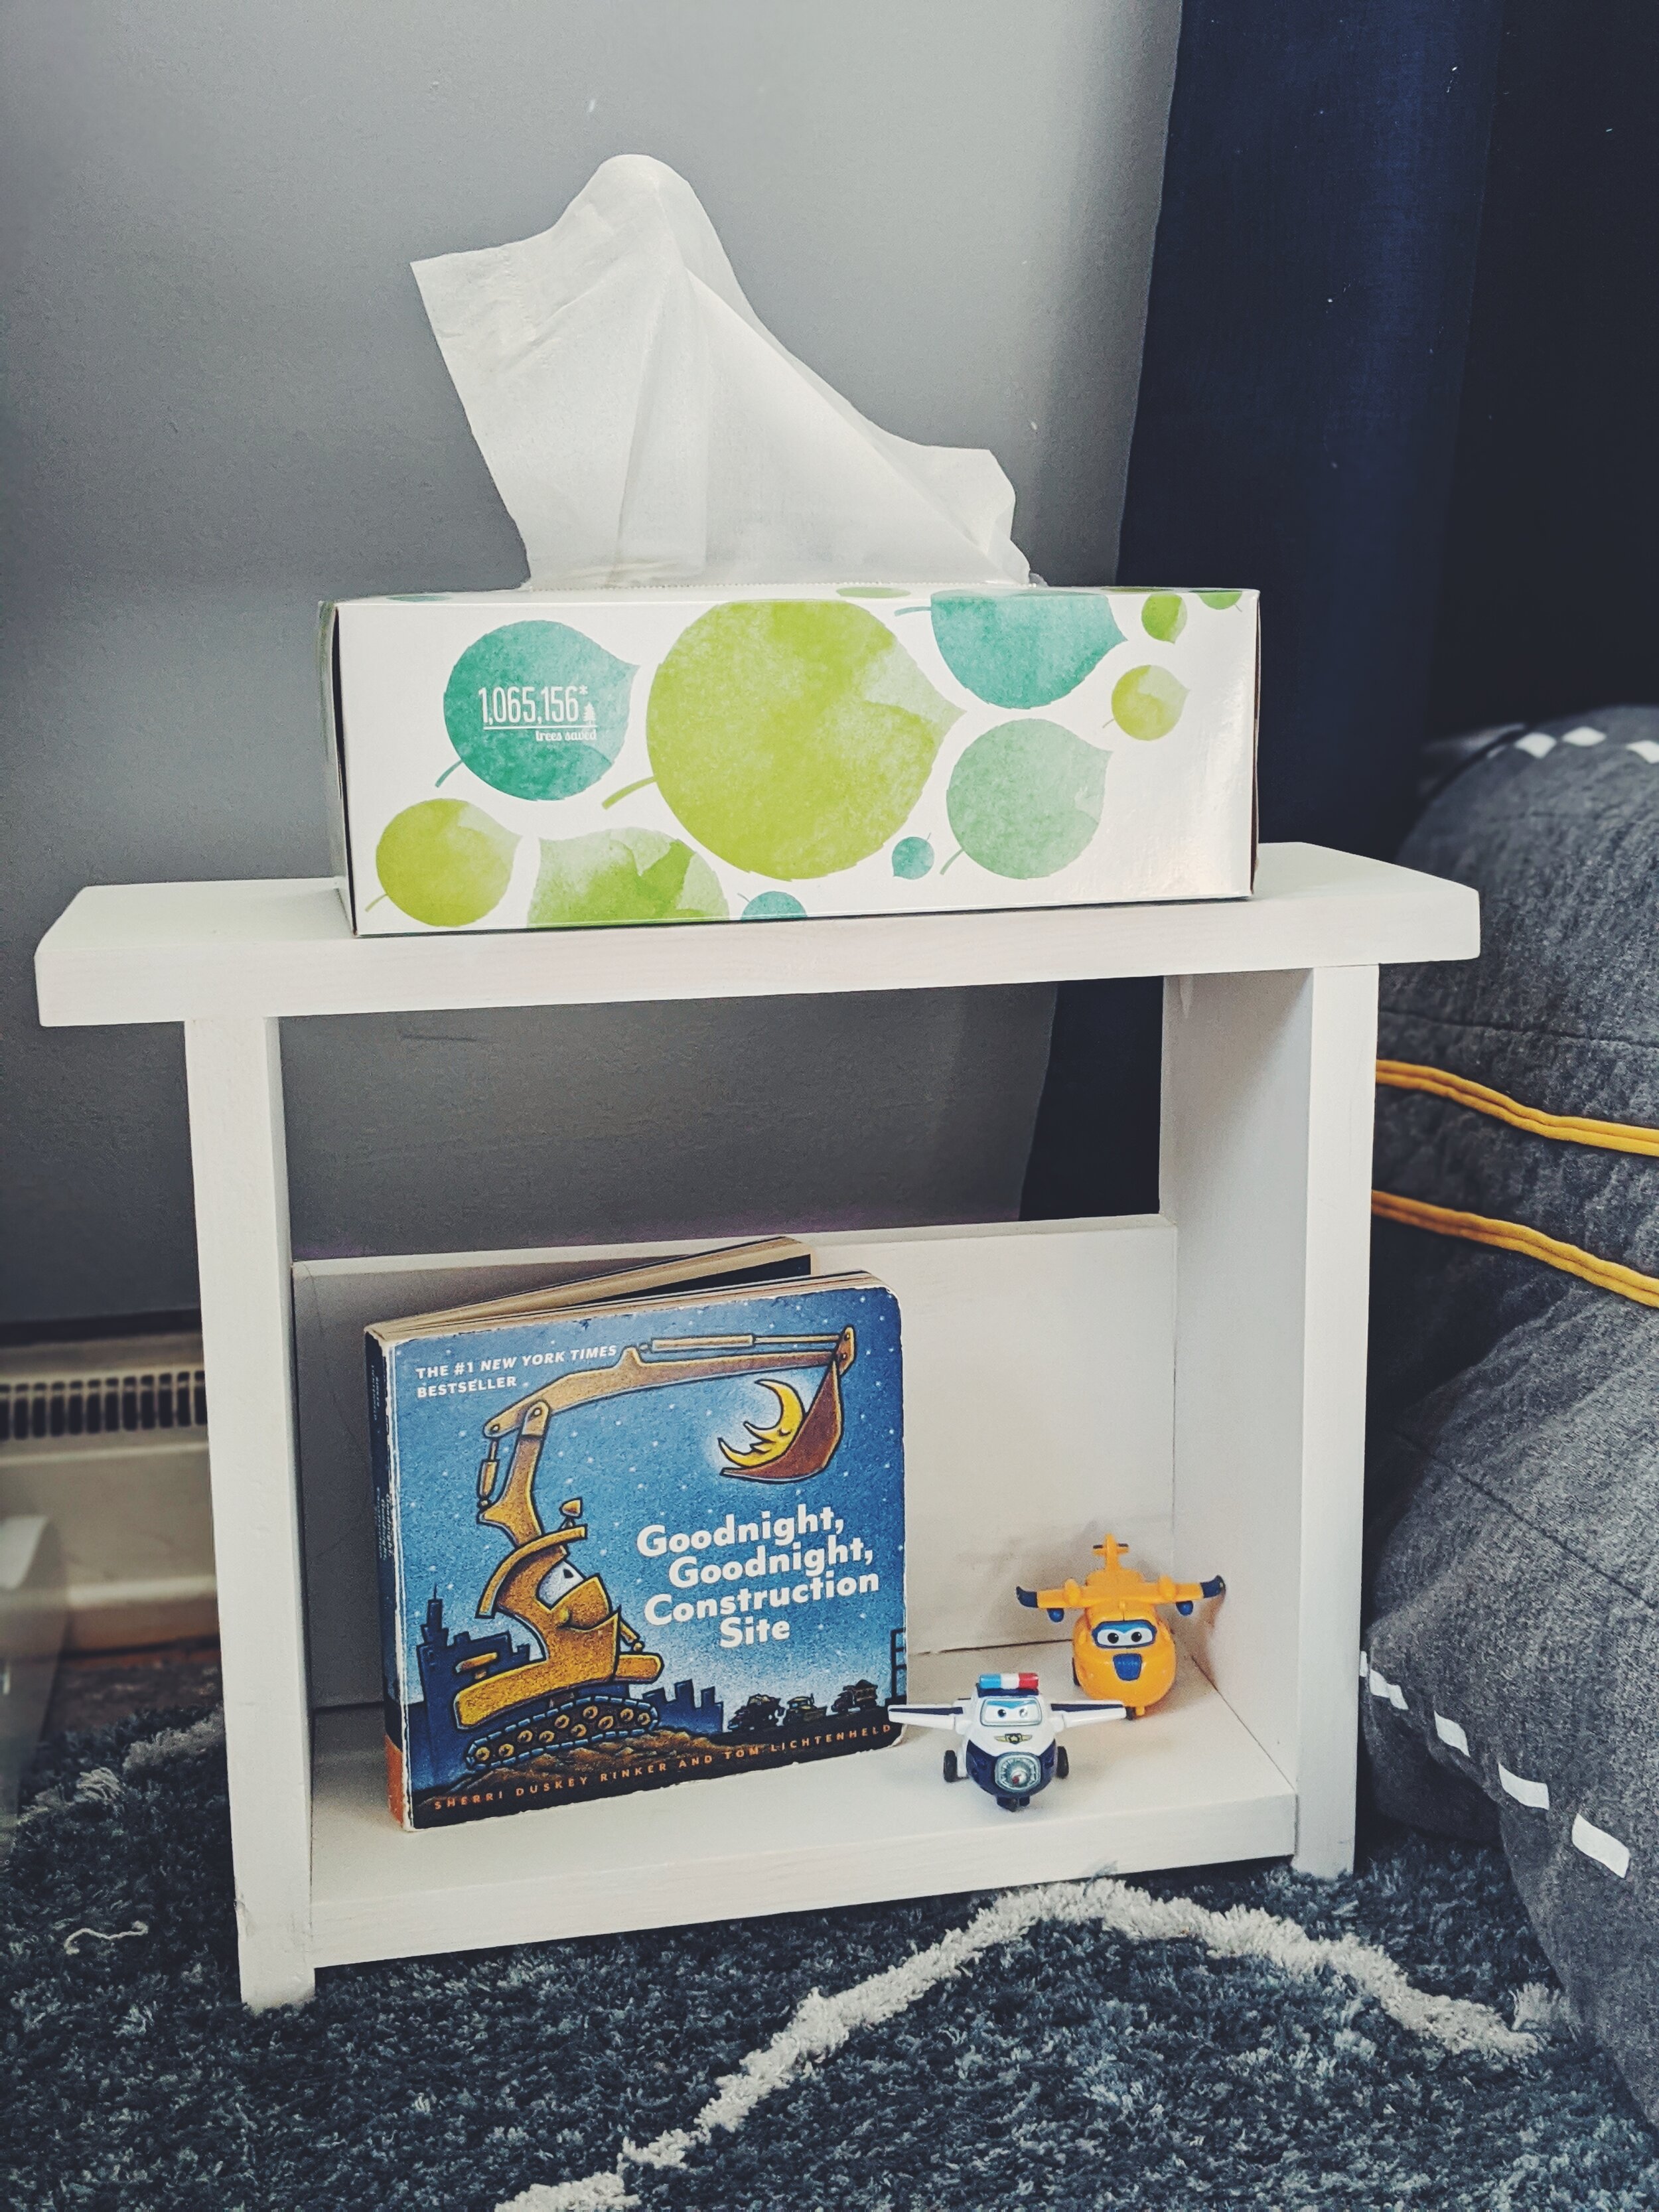
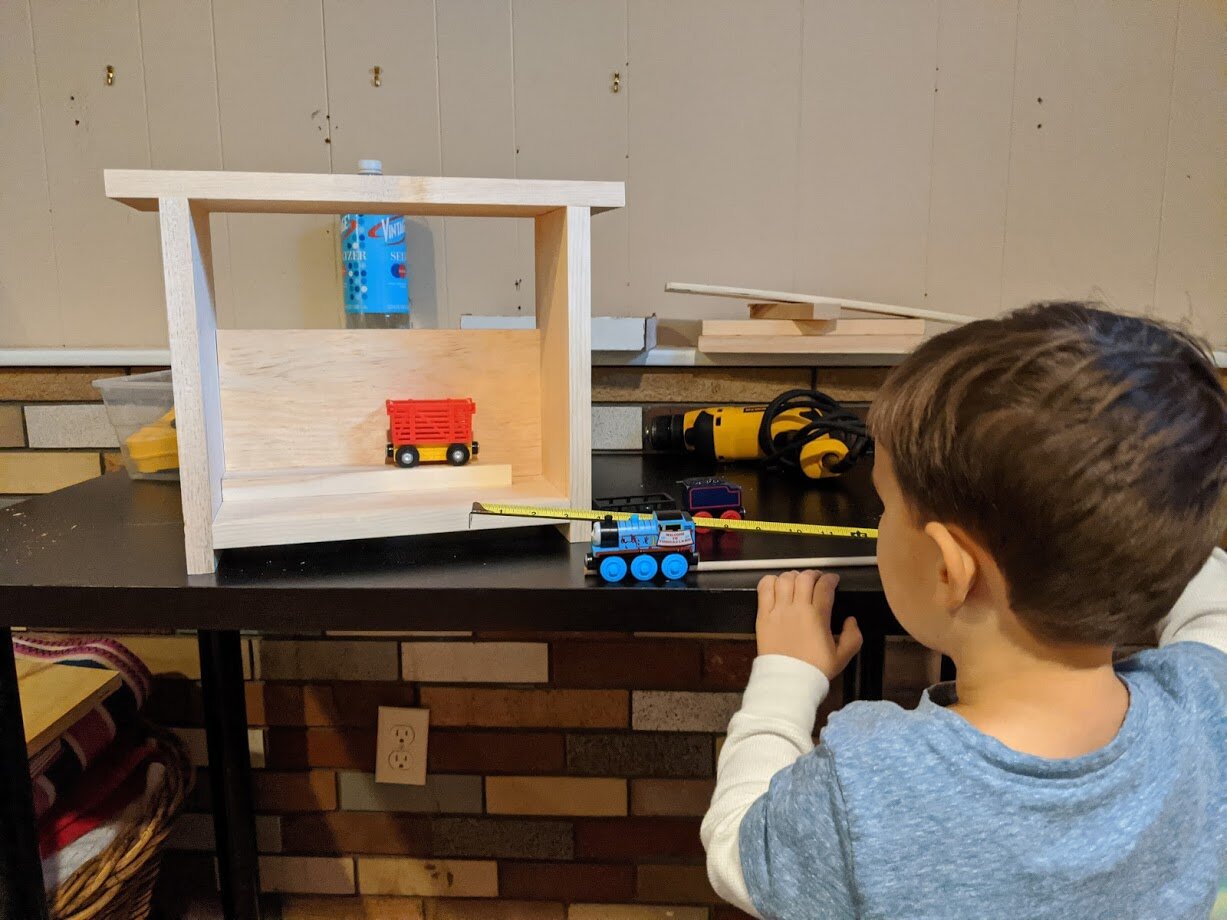
The size I went with fits a few things really nicely - a tissue box, a wipes container, a board book forward facing, a few small board books with the spines facing outward. I posted some photos so you can see the scale. It will not fit a tall paper page book well.


Tools
Drill - I like Dewalt brand and definitely go corded versus cordless. They’re typically more powerful and how annoying is it to have to wait for a battery to charge, or have the battery or charger go missing?
A pencil - Your kid’s colored pencils would work just fine.
Sander - Either an electric sander or piece of sand paper or sand paper block work fine.
Optional - wood filler or putty to fill the screw holes
Optional - Tack cloth to clean up the saw dust. You can alternatively use a rag.
Optional - Clamps if you’re fancy or a perfectionist with alignment. I am neither.
If your wood pieces are not pre-cut, you’ll also need a miter saw or hand saw.
Materials
Wood - 1 x 6” - one piece cut at 15” and four pieces cut at 11” - Remember, if you are cutting yourself, the cutting process takes off some length so measure each cut.
Screws - 1” wood screws are ideal but 3/4” or 1.25” should work as well. The wood is 1/2” thick so this size or smaller would not work.
Paint or Stain - I used some leftover white paint. I also think this could look really nice with the top piece stained in a dark walnut and the bottom painted in a white chalk paint, or vice versa. I’ve been loving that combo lately. I like this white chalk paint and this wood stain.
Steps
If your pieces are not pre-cut, you’ll need to cut them to your desired lengths.
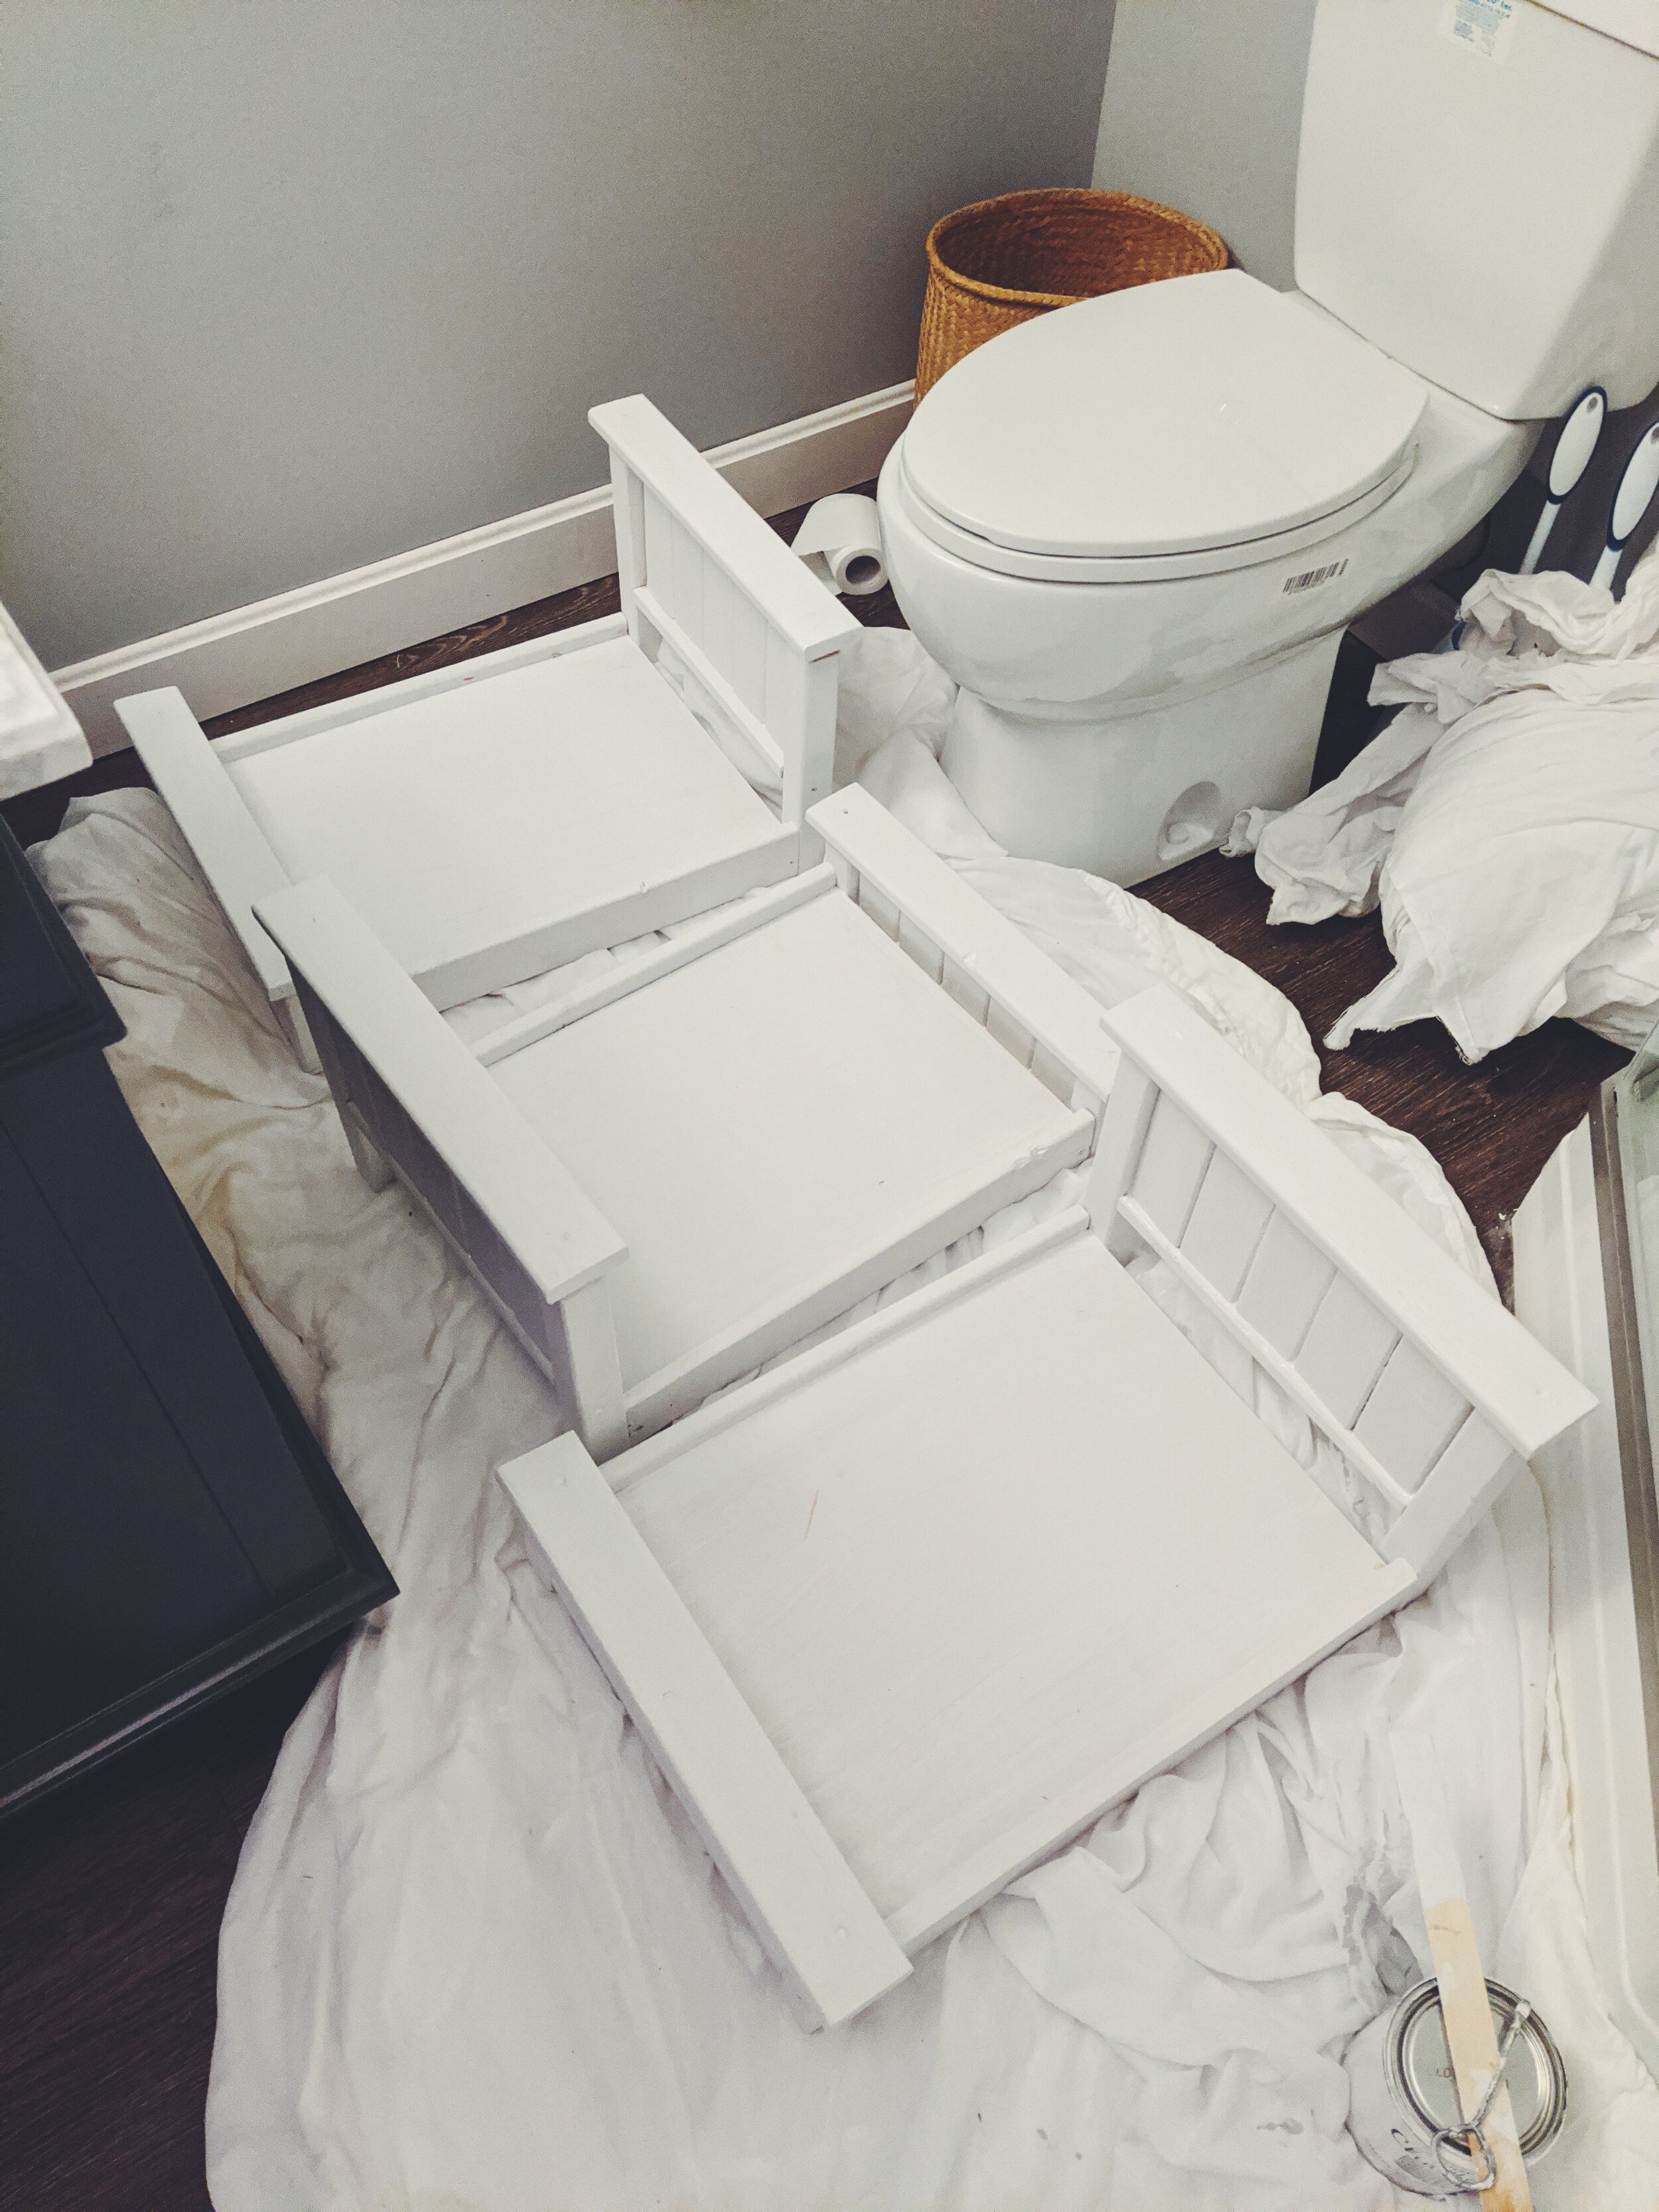
Lay out your design. Starting with the side pieces, measure and mark one inch up from the bottom of the two side pieces. Attach your bottom piece into the side pieces by pre drilling pilot holes through the side pieces and into the bottom piece. The pilot holes are paramount. The wood would likely split if you just drill the screws in directly without pilot holes. You now should have a U shape with the sides and bottom pieces.
Lay your top piece across the top so that it is center and again pre drill pilot holes through the top piece and into the side pieces and then secure with screws. I stopped drilling a touch before the end of the screws so that inserting the back piece would have a little wiggle room.
Insert your back piece, and once again pre drill pilot holes from the sides into the back piece and then secure with screws. Go back and drill in your top piece screws the rest of the way once the back piece is in. Voila.
Sand, especially around the corners. Wipe off saw dust.
Optional - Fill in your screw holes with wood putty and let dry.
Optional - Paint or stain and set to dry.


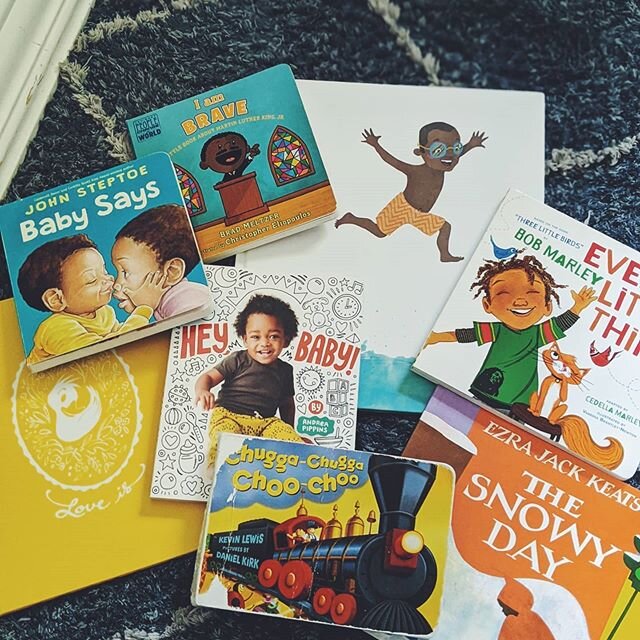
Books you see here
Little Blue Truck and Little Blue Truck Leads the Way by Alice Schertle and Jill Mc Elmurry - Favorites of ours since forever it feels, these books are about being kind and helping out. The original has a ton of animals and animal sounds and Leads the Way is all vehicles based in a city.
Little Tug by Stephen Savage - A very simple, sweet story about having a purpose. This was a gift and we have cherished it.
Look Inside Things That Go and Look Inside Building Sites by Rob Lloyd Jones - These are lift the flap books with a ton of literal insight. They’re not so much stories but my vehicle obsessed son loves them.
Goodnight Goodnight, Construction Site by Sherri Duskey Rinker. I am a huge fan of all of her books. My son’s current favorite is Three Cheers for Kid McGear. They are all so well written and have those internal rhymes that are just so fun to read and are also quite clever. They are all about collaboration and all feature trucks so win-win over here. We often end bedtime by saying “Construction site, all tucked in tight; The day is done; turn off the light. Great work today. Now, shh, goodnight.”
Do you all want to see what books Mateo and I have been into lately? His classics? I can follow up with a post about those in the future if you’d be interested. Let me know in the comments below or over on Instagram.
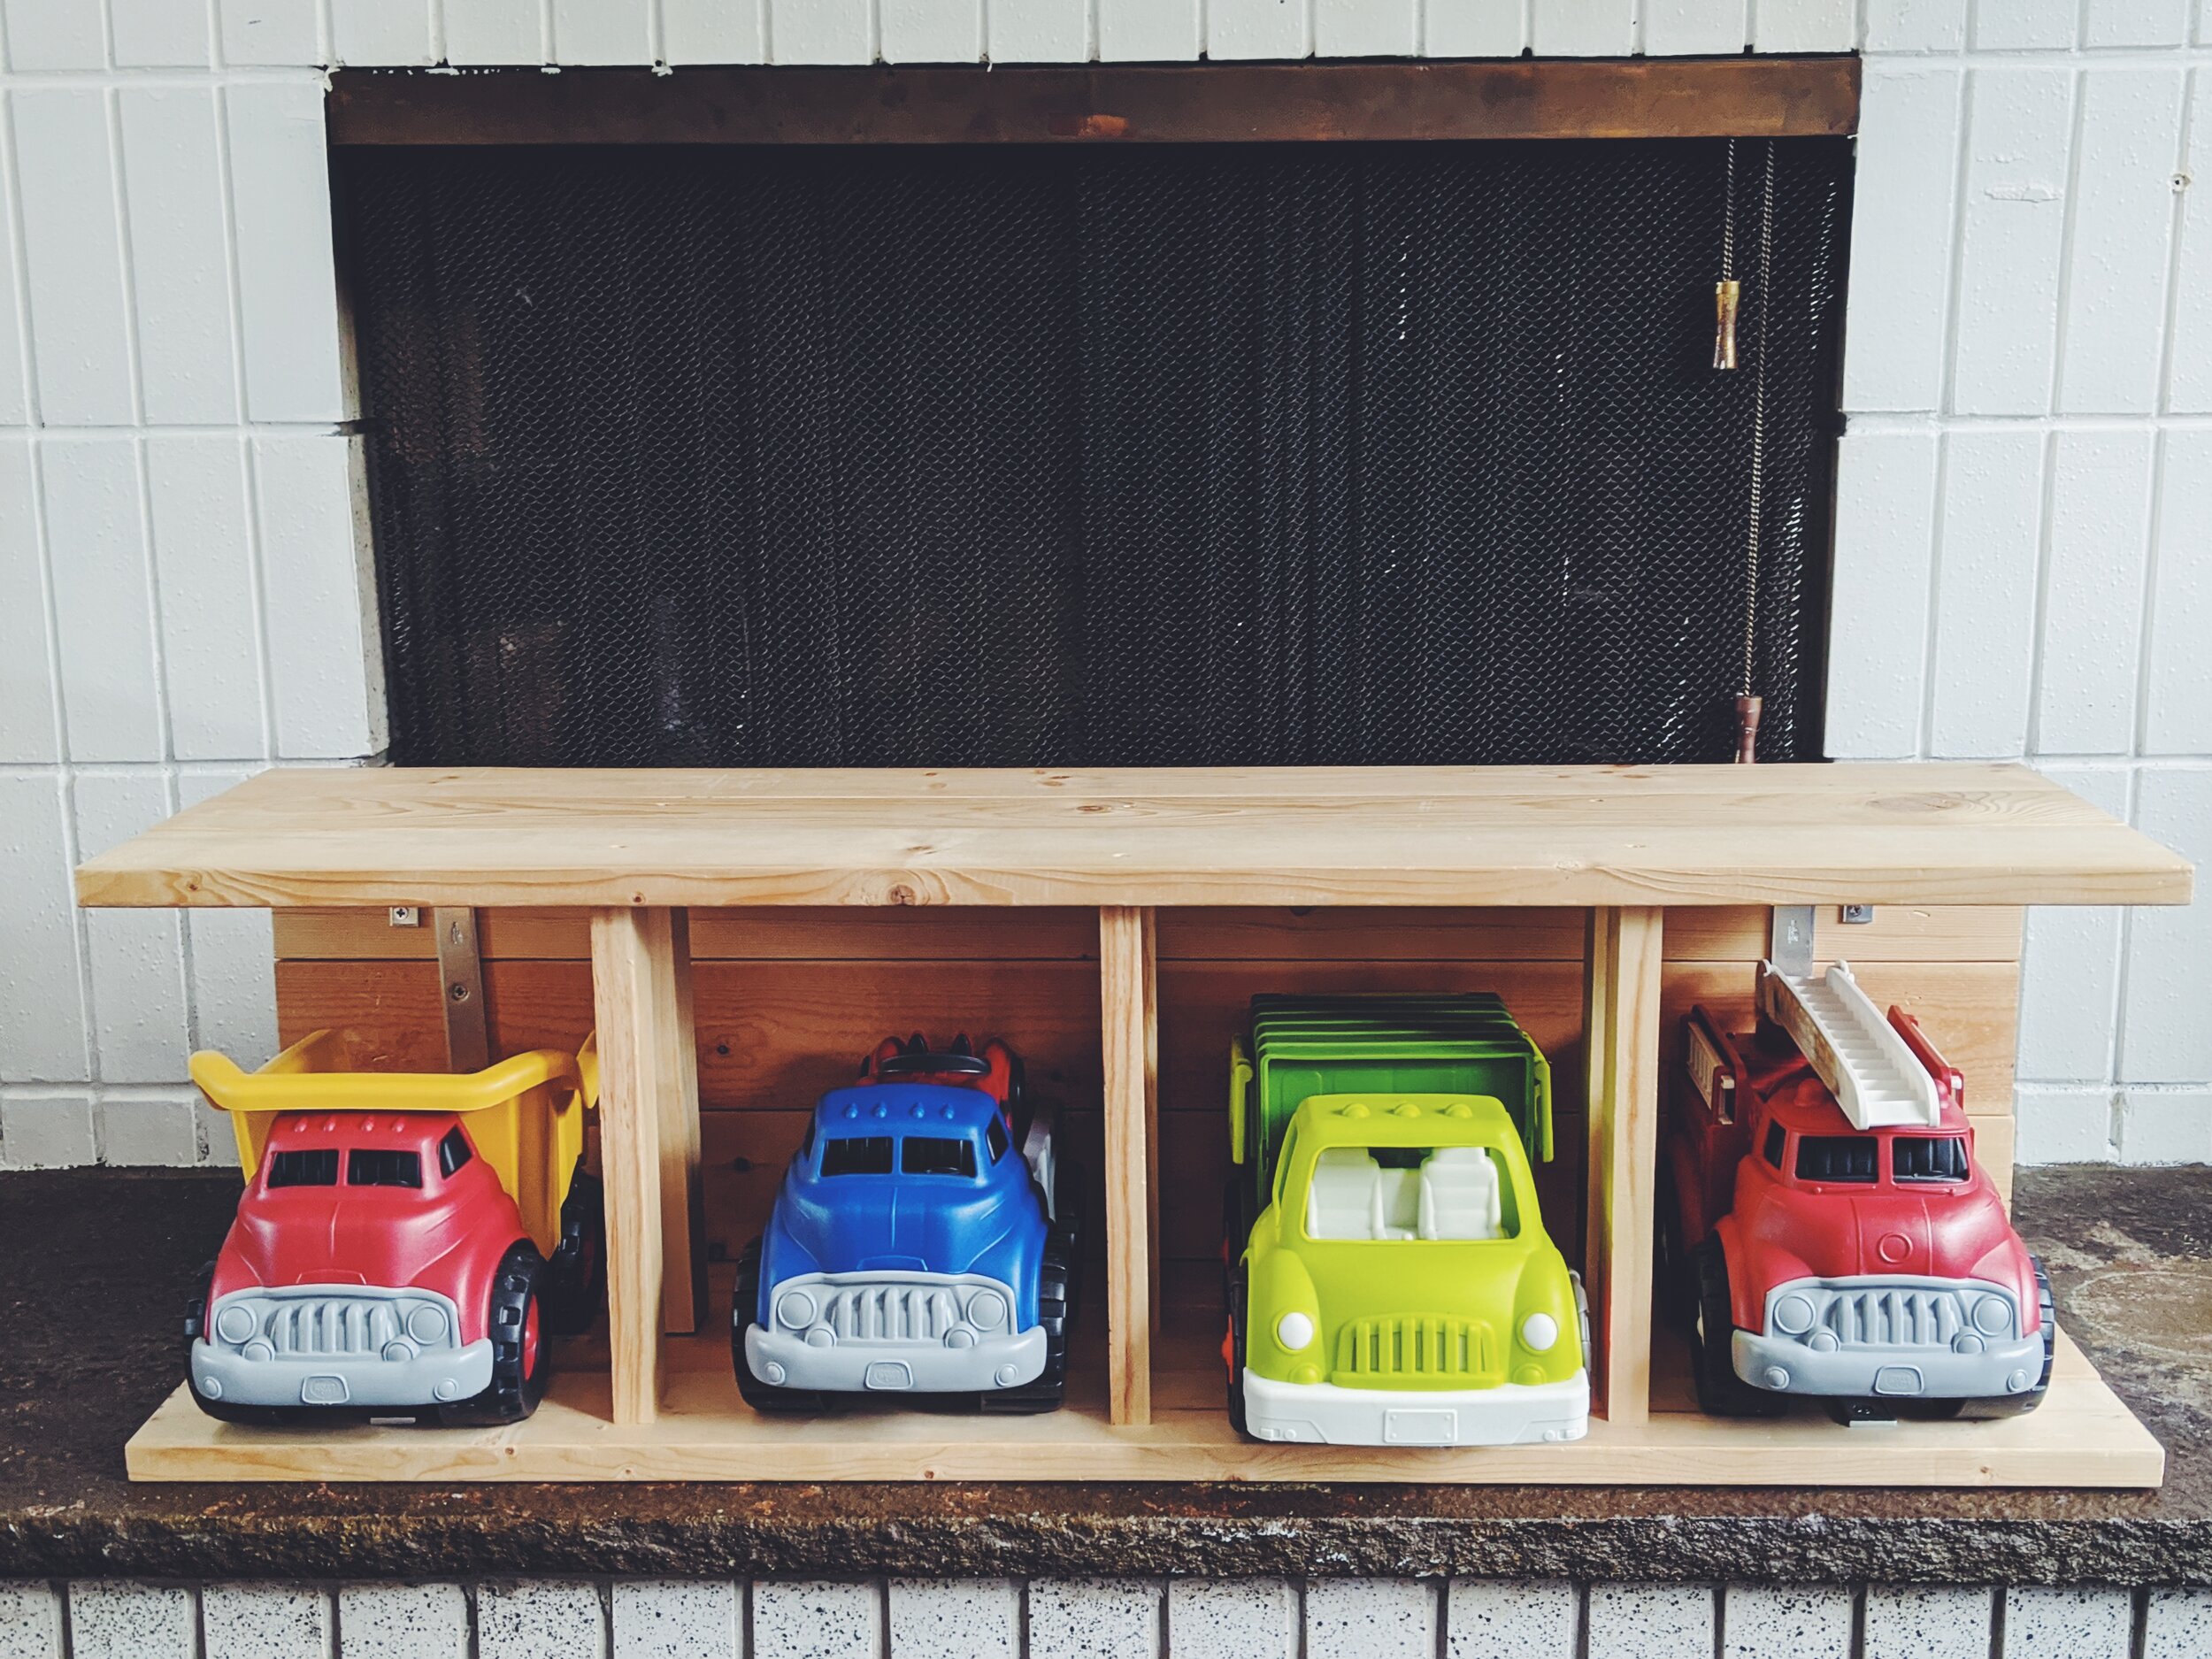
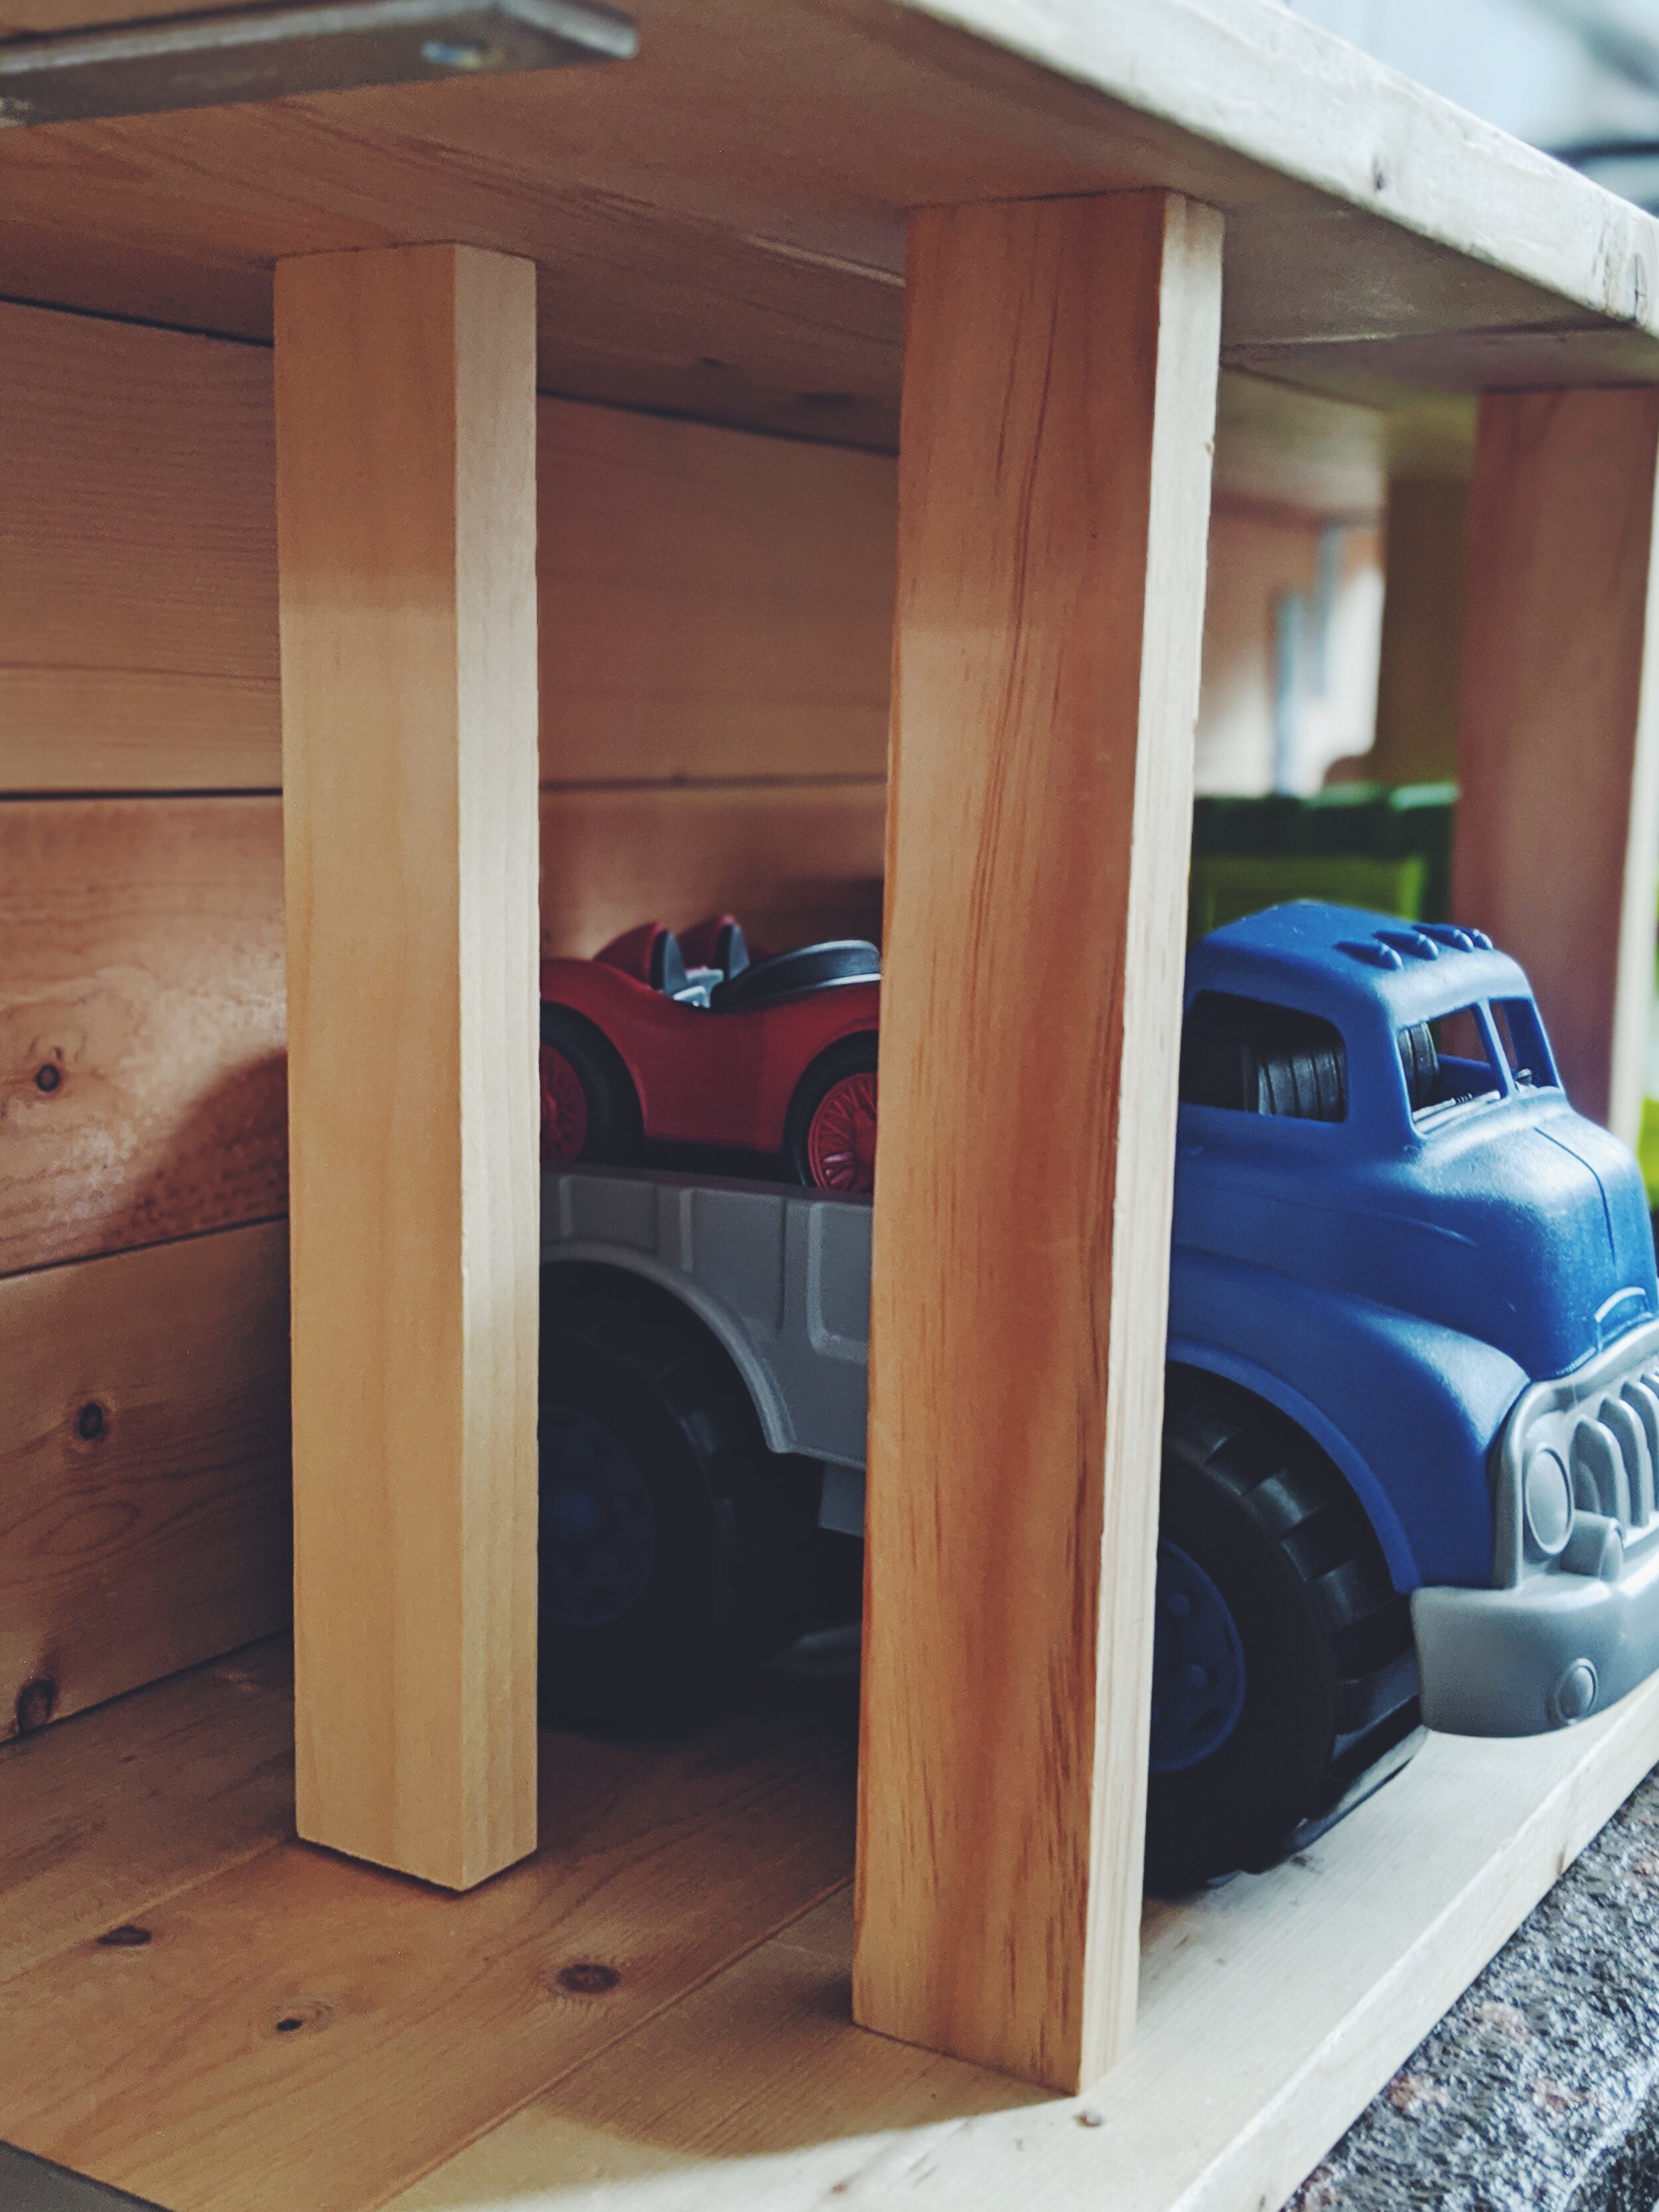
Also here, wipes (my favorite are actually Huggies Natural Care), tissues, a wavy plant and of course, Superwings toys.
Have you made your own furniture before? Did you like to DIY or do you prefer to buy? Comment below if you make this DIY!
A note on affiliate links - This post contains affiliate links. The amazon items linked above are the same price to you, but a small portion gets kicked back to me if you purchase through these links.
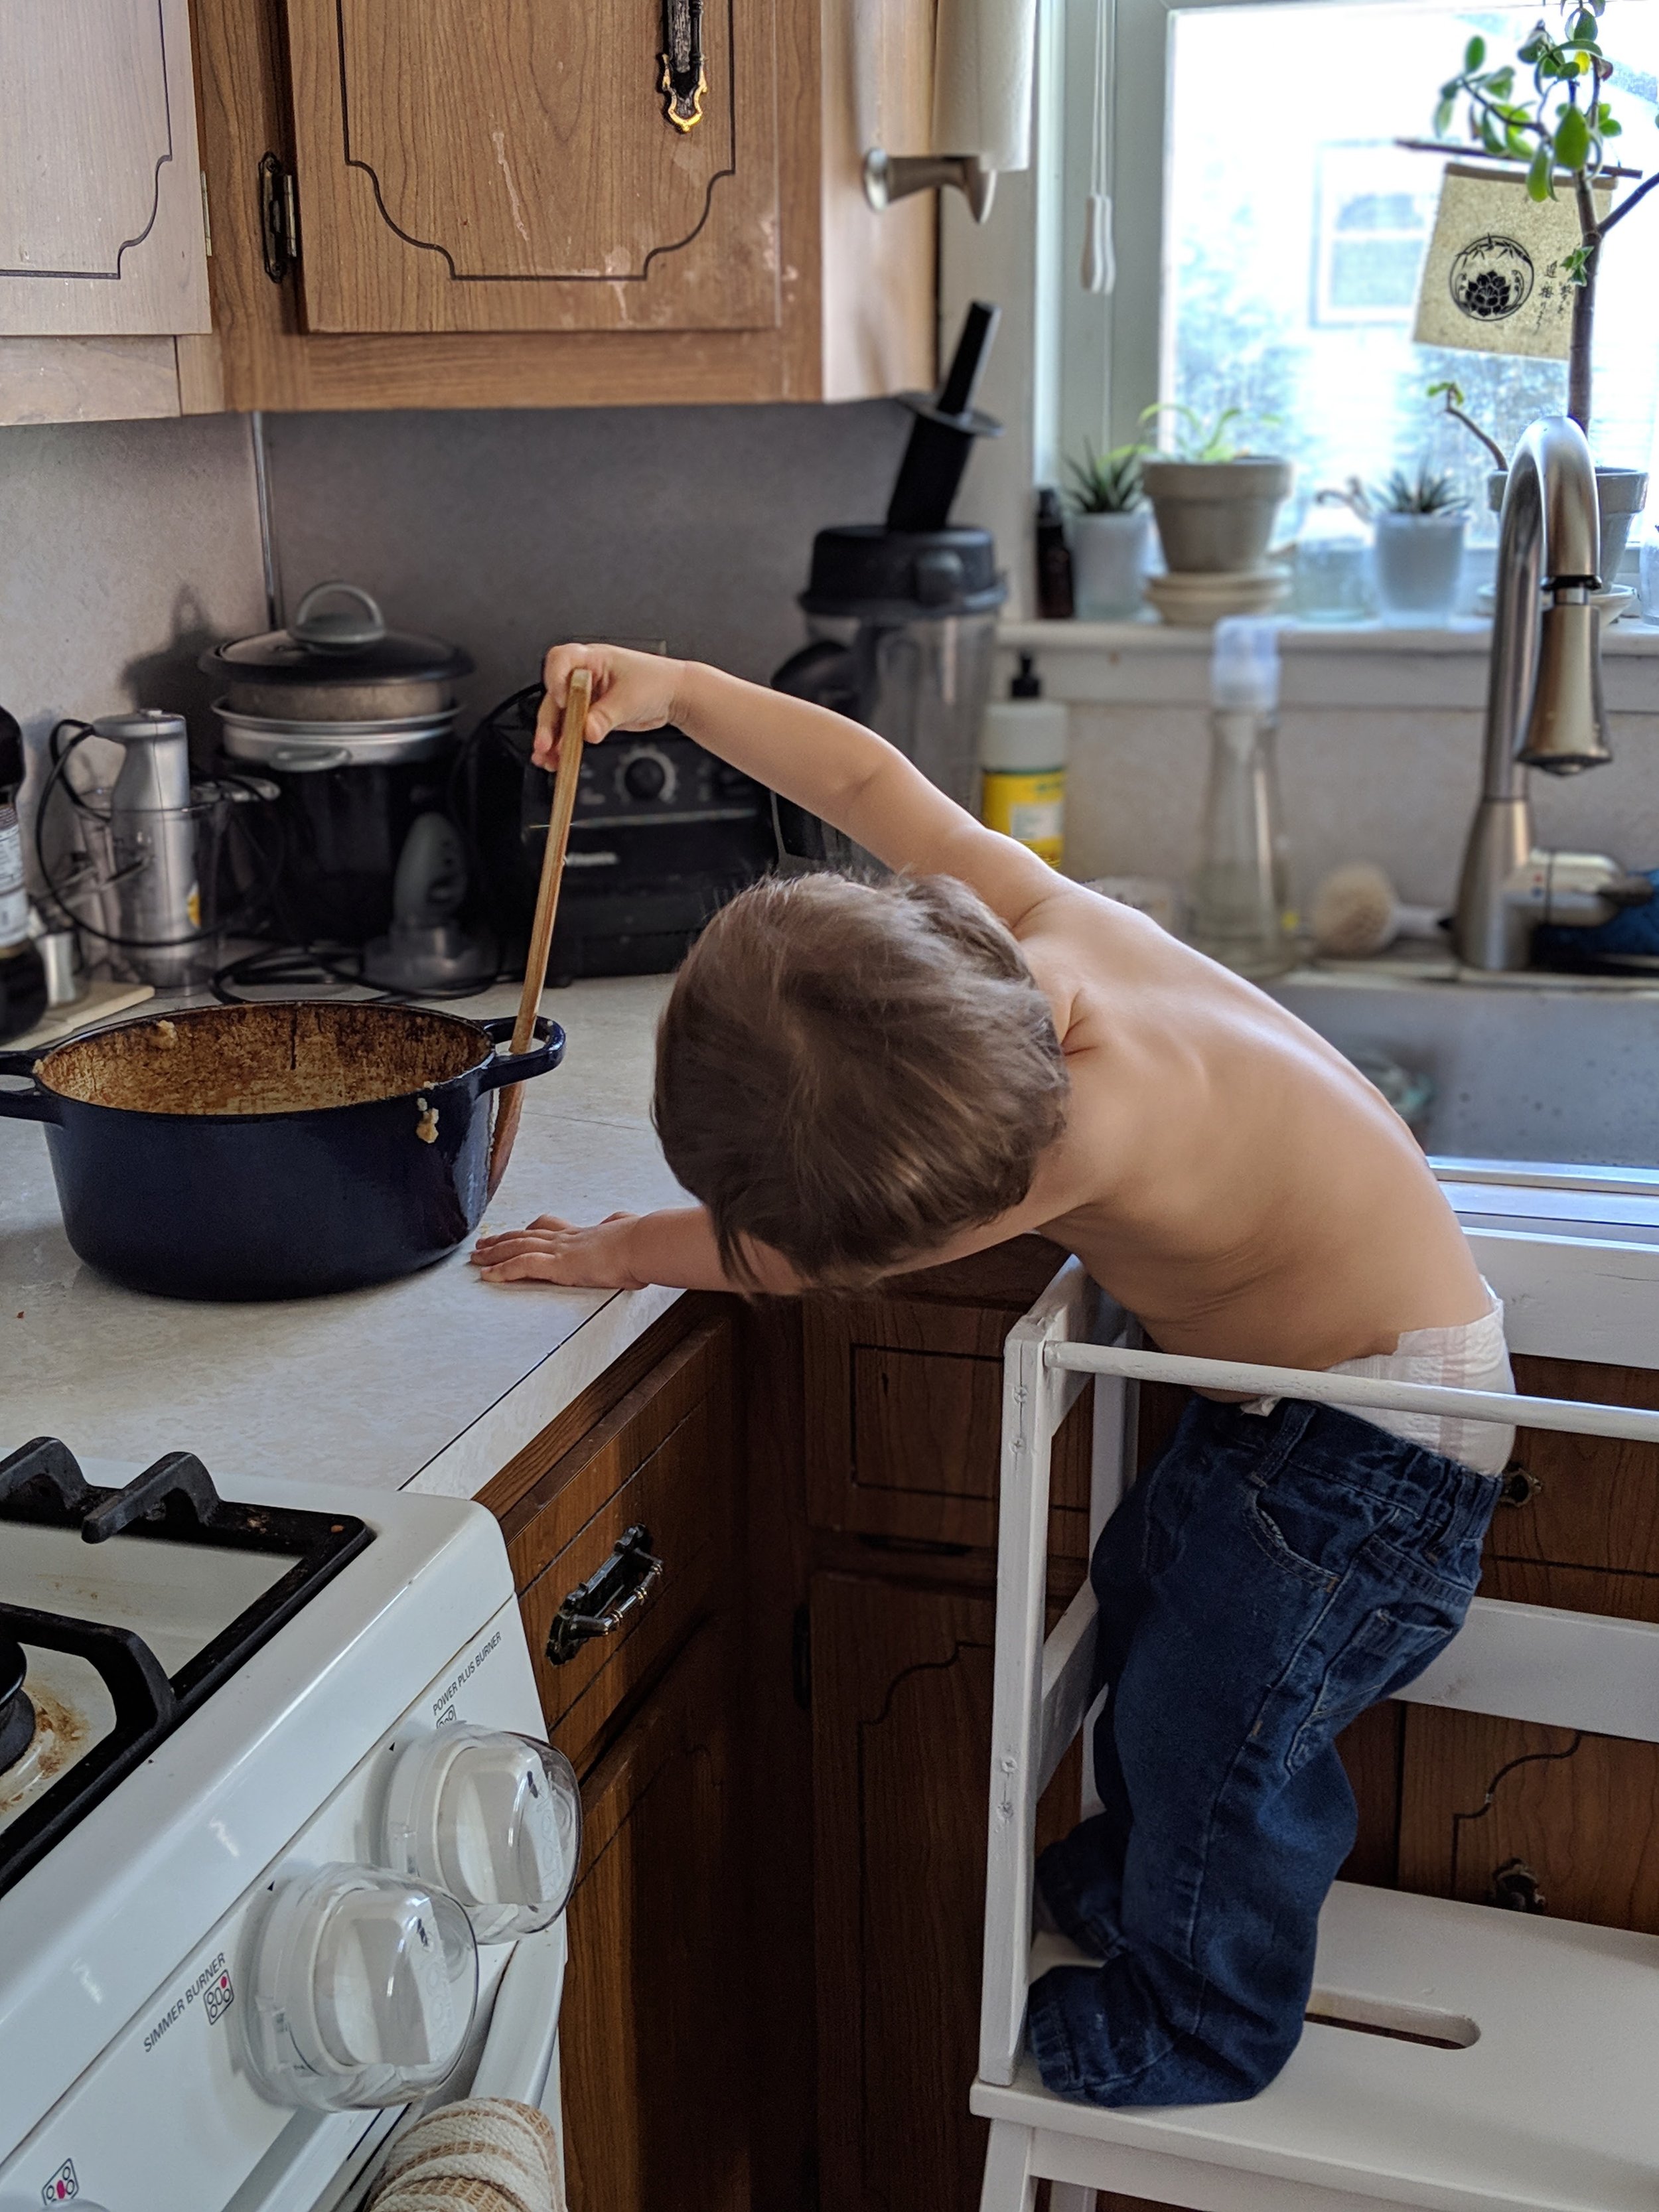
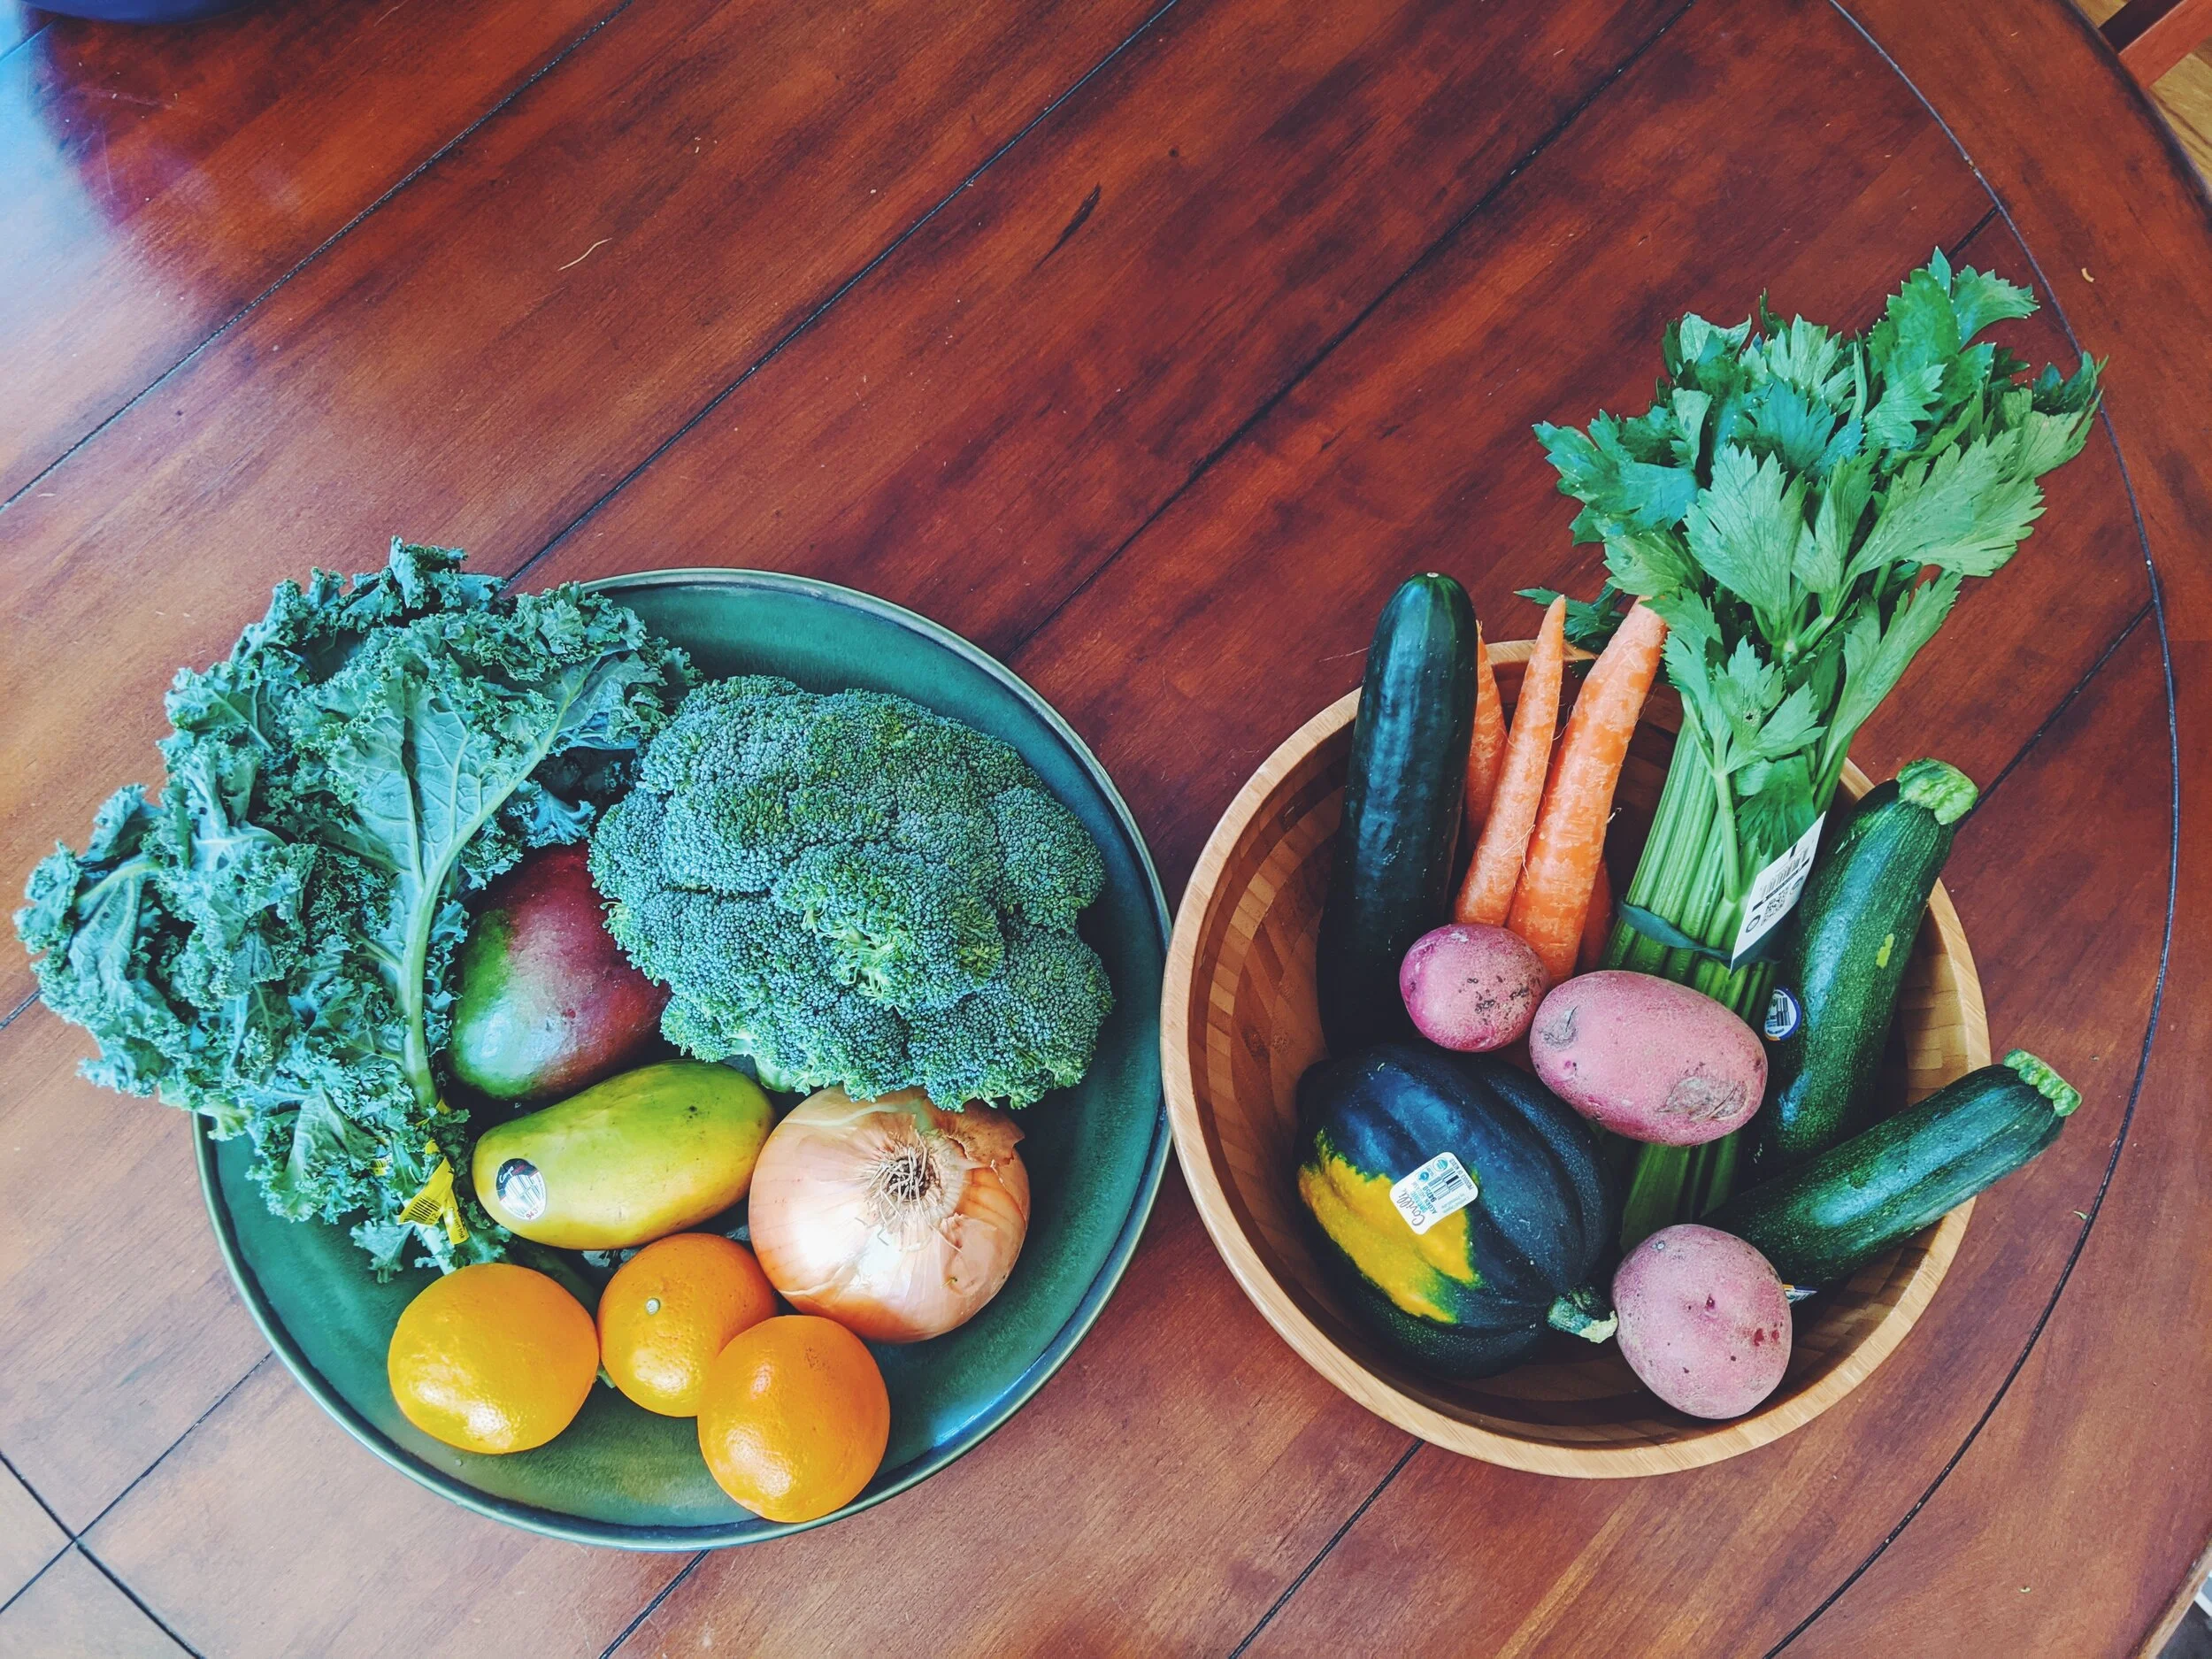
For inspiration from our day to day life, follow us over on instagram @plantbasedbaby.us. Here’s a preview below of what you can expect.