Egg-Free, Dye-Free Easter Ideas

We love to celebrate holidays with crafts and treats but it can definitely be tricky to navigate ways to do so that are good for us and good for the planet. Egg-based and dye-based activities and foods are so prevalent this time of year so I put together a list of ways to celebrate avoiding eggs and dyes.

Wooden Easter Eggs

  • Faux Egg Crafts - Simple swap - fake eggs. Use wooden craft eggs like these or cardboard-based eggs like these and decorate with markers or paint for the most eco-friendly option. Add some washi tape to get the striped look or spring themed stickers for added decoration with just minimal waste. (I don’t love to support the plastic variation but it is a cruelty-free option and available in most main stream stores.)

  • Paint Rocks Instead - If you want to go even more eco-conscious, gather oval-shaped rocks to decorate instead!

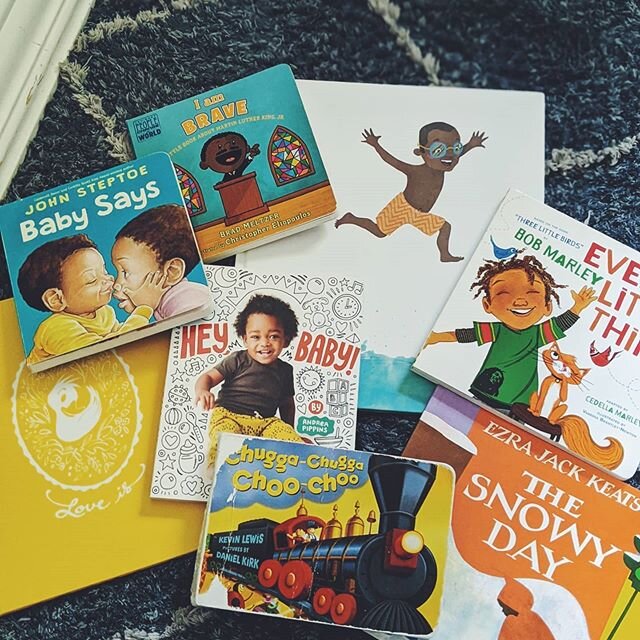
  • Use What You Already Have - Nearly anything can be cut egg-shaped and nearly anything can be used to decorate so get out the construction paper, felt, etc. and make your own eggs. There are even printable Easter and spring themed coloring book pages you can download.

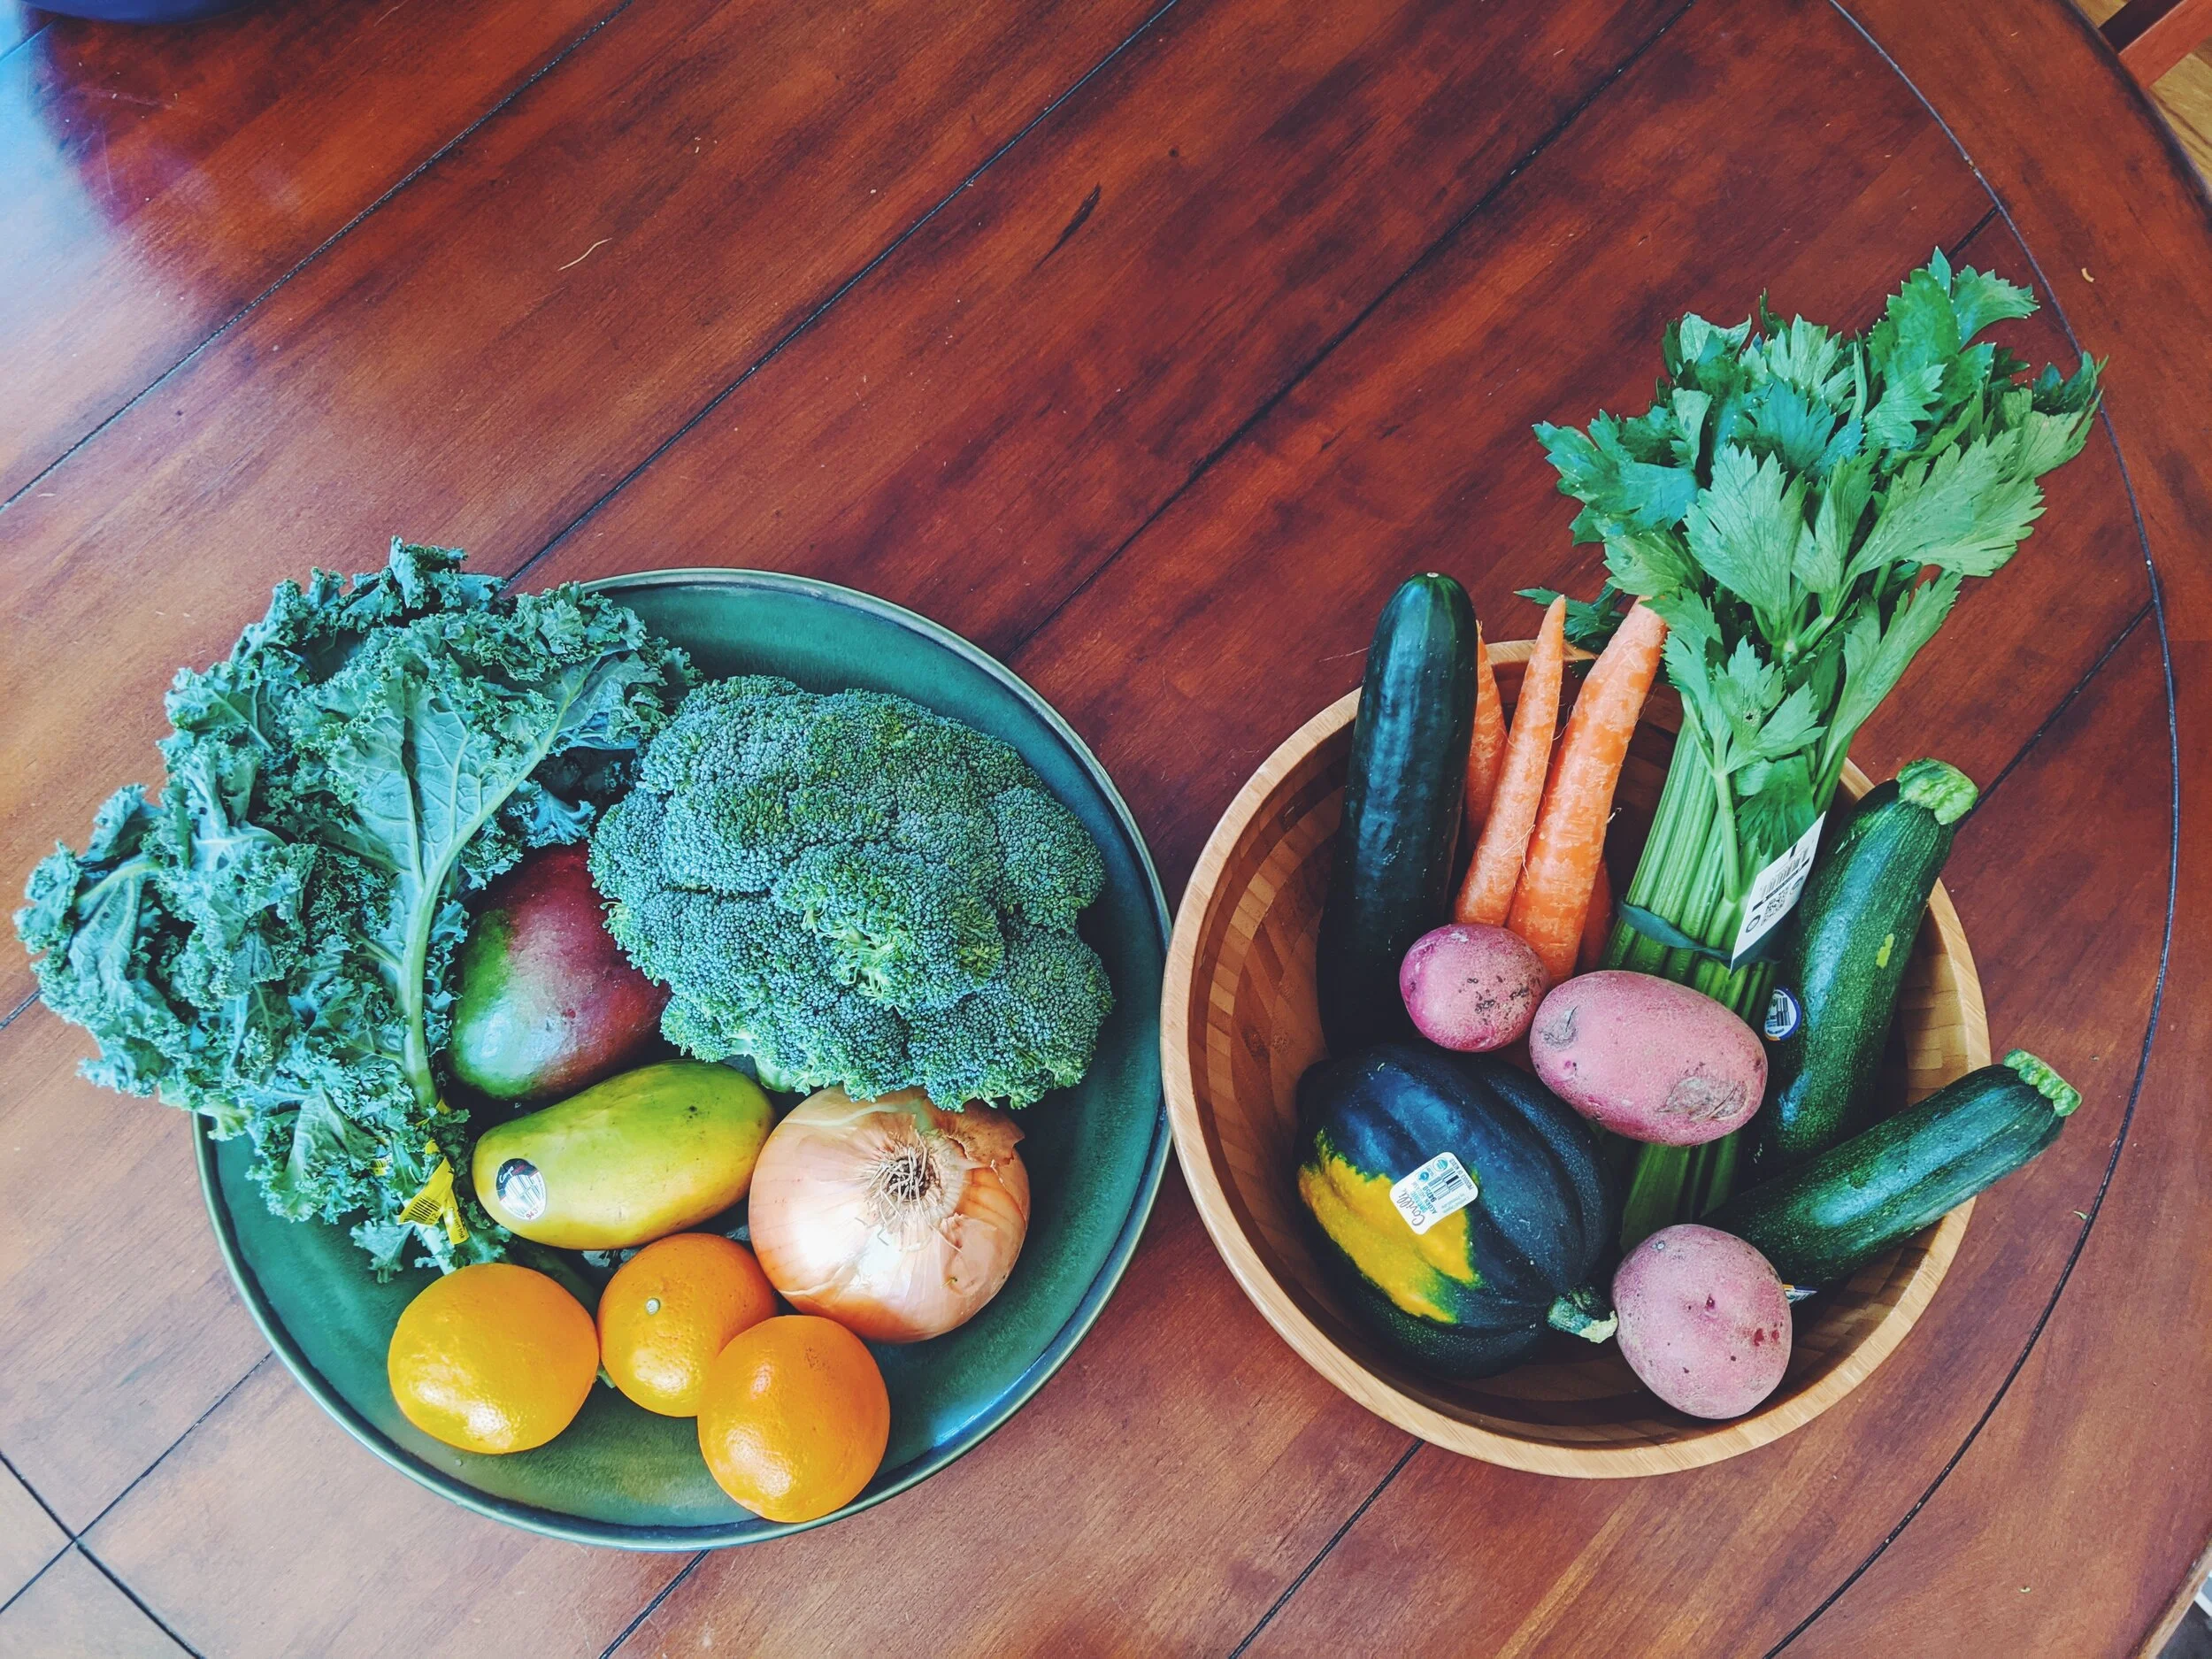
  • DIY Dye - Try making your own plant-based dye using food items such as red cabbage, coffee grounds, turmeric, beets and onion skins. Boil in water and some vinegar to make your diy dyes.

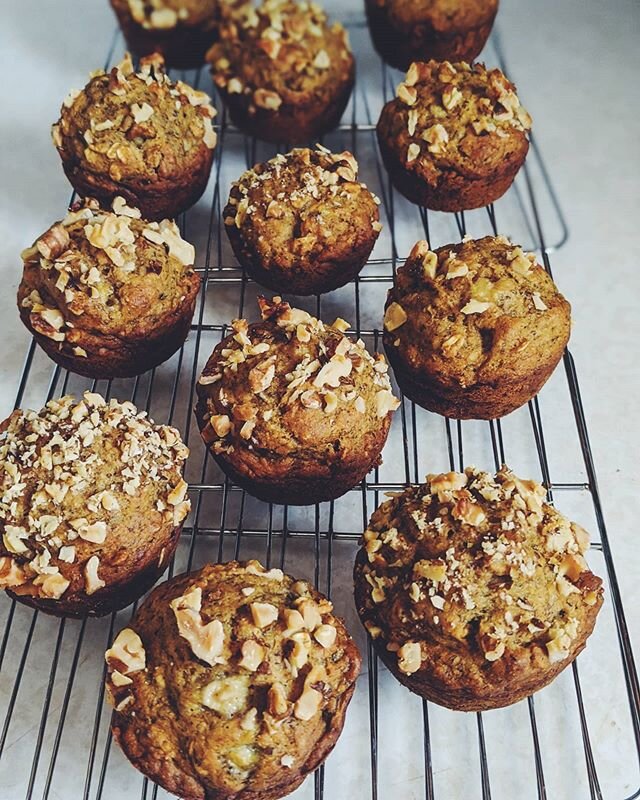
  • Vegan Baking - Most baked goods can easily be made vegan with swaps like plant based milk, vegan butter, flax eggs, apple sauce, vegan chocolate chips from Enjoy Life, vegan marshmallows from Dandies etc. or look to amazing creators like Chocolate Covered Katie.

  • Vegan Store-Bought Baked Goods - We love Abe’s mini vegan muffins and are excited to try out their vegan coffee cake and carrot cake. All of their treats would be the perfect addition to a vegan brunch.

  • Vegan Candy - We love YumEarth candy because they are free from dyes and nearly all of their candies are vegan (just skip the gummy bears and candy corn in the fall). They even have vegan jelly beans! (You may know that I photograph for this brand and my sister works for the company, but this link is not sponsored in any way. I just really like their candy.)

  • Vegan Chocolate - Even if a brand is not all vegan, check out any dark chocolate products because they are much more likely to be naturally vegan. I recently had the Little Secrets Dark Chocolate Crispy Wafers and man, they are so good. (They may contain cross-contaminated milk so please be mindful if you have a severe allergy.) They don’t carry a vegan label but reading the ingredients, I think we are good to go. I’ve also seen a ton of oat-milk based milk chocolate bars lately.

However you celebrate the spring, I hope you have a wonderful one!

From my family to yours,

Tracy


I'm on TikTok @plantbasedbaby.us - Follow me!

Logo Temp.jpg

Are you on TikTok? It’s totally new to me but I’ve been having some fun making these quick one minute videos! Today I posted my favorite spices, all vegan of course. Yesterday I posted how to make homemade cashew milk and a crowd pleasing vegan lunch. Let me know what you think! Download the app and follow me at @plantbasedbaby.us!

And if you’re not already, give me a follow on Instagram too on the same handle @plantbasedbaby.us. Here’s my latest feed below so you can take a look at the type of posts I make. Enjoy!

Lots of love, all! Stay safe!

DIY Toddler Floor Bed Night Stand (from Anika’s DIY Life)

We love Sherry Dusky Rinker Books

We love Sherry Dusky Rinker Books

Let me tell you, this little night stand is super easy to make and perfect next to floor beds and/or for small spaces. The best part about making your own furniture is that you can customize pieces to your space. For this nightstand, the most important thing is knowing the height of your bed frame and mattress so you can match that height with your nightstand and overall how much space you have and want to take up. The one I made is super slim and low profile, but if you have a bigger space, scale up to have it fit the space. If you have questions on how to do that, comment below or DM me on Instagram.

I based my nightstand on the tutorial by Anika’s DIY Life Blog: DIY kids bedside table with book storage and did what I said above, tweaked it for my space. (My son has this Zinus mattress which is 12” high. It is currently on the floor but I do plan to make a thin frame for it at some point to let the mattress breathe a little. I don’t anticipate this lifting it more than an inch or two off the ground.)

I’ll let you head over to Anika’s DIY post for a detailed list of materials and instructions for the original nightstand. For my measurements, see below. I challenged myself to only buy one piece of wood, so I chose a 1 x 6 (which actually measures to approximately .5 x 5.5). I had Home Depot make the cuts for me because this was pre-quarantine. The top piece is 15” long and the sides, bottom and back are all 11” long. I like to keep things simple. I decided not to include a bar across the front but if you want one, it would just need to be the same length as the back piece. I also did not add the little shelf as the height of mine just felt so small already. I do think it would be cute for toddler trinkets though. If I were to make another, I’d probably add that in.

The size I went with fits a few things really nicely - a tissue box, a wipes container, a board book forward facing, a few small board books with the spines facing outward. I posted some photos so you can see the scale. It will not fit a tall paper page book well.


Tools


Materials

  • Wood - 1 x 6” - one piece cut at 15” and four pieces cut at 11” - Remember, if you are cutting yourself, the cutting process takes off some length so measure each cut.

  • Screws - 1” wood screws are ideal but 3/4” or 1.25” should work as well. The wood is 1/2” thick so this size or smaller would not work.

  • Paint or Stain - I used some leftover white paint. I also think this could look really nice with the top piece stained in a dark walnut and the bottom painted in a white chalk paint, or vice versa. I’ve been loving that combo lately. I like this white chalk paint and this wood stain.


Steps

  • If your pieces are not pre-cut, you’ll need to cut them to your desired lengths.

  • Lay out your design. Starting with the side pieces, measure and mark one inch up from the bottom of the two side pieces. Attach your bottom piece into the side pieces by pre drilling pilot holes through the side pieces and into the bottom piece. The pilot holes are paramount. The wood would likely split if you just drill the screws in directly without pilot holes. You now should have a U shape with the sides and bottom pieces.

  • Lay your top piece across the top so that it is center and again pre drill pilot holes through the top piece and into the side pieces and then secure with screws. I stopped drilling a touch before the end of the screws so that inserting the back piece would have a little wiggle room.

  • Insert your back piece, and once again pre drill pilot holes from the sides into the back piece and then secure with screws. Go back and drill in your top piece screws the rest of the way once the back piece is in. Voila.

  • Sand, especially around the corners. Wipe off saw dust.

  • Optional - Fill in your screw holes with wood putty and let dry.

  • Optional - Paint or stain and set to dry.


Books you see here

  • Little Blue Truck and Little Blue Truck Leads the Way by Alice Schertle and Jill Mc Elmurry - Favorites of ours since forever it feels, these books are about being kind and helping out. The original has a ton of animals and animal sounds and Leads the Way is all vehicles based in a city.

  • Little Tug by Stephen Savage - A very simple, sweet story about having a purpose. This was a gift and we have cherished it.

  • Look Inside Things That Go and Look Inside Building Sites by Rob Lloyd Jones - These are lift the flap books with a ton of literal insight. They’re not so much stories but my vehicle obsessed son loves them.

  • Goodnight Goodnight, Construction Site by Sherri Duskey Rinker. I am a huge fan of all of her books. My son’s current favorite is Three Cheers for Kid McGear. They are all so well written and have those internal rhymes that are just so fun to read and are also quite clever. They are all about collaboration and all feature trucks so win-win over here. We often end bedtime by saying “Construction site, all tucked in tight; The day is done; turn off the light. Great work today. Now, shh, goodnight.”

Do you all want to see what books Mateo and I have been into lately? His classics? I can follow up with a post about those in the future if you’d be interested. Let me know in the comments below or over on Instagram.

Also here, wipes (my favorite are actually Huggies Natural Care), tissues, a wavy plant and of course, Superwings toys.


Have you made your own furniture before? Did you like to DIY or do you prefer to buy? Comment below if you make this DIY!


A note on affiliate links - This post contains affiliate links. The amazon items linked above are the same price to you, but a small portion gets kicked back to me if you purchase through these links.


For inspiration from our day to day life, follow us over on instagram @plantbasedbaby.us. Here’s a preview below of what you can expect.


Reuse Your Baby Items (Burp Cloths, Pregnancy Pillows, Diaper Pails, Pump Flanges and More)

When your little ones are done with their baby items, it can feel like a lot that gets boxed up or thrown out. While I definitely encourage donating items to families in need or passing them down to your relatives, there are some items that are super personal, or just flat out a little gross to not keep in the family. Here are six items that I not only reuse, but do so daily.

Burp Cloths

Burp Cloths

Number One: Burp Cloths and Baby Washcloths

Use: Clean Up Cloths

Second Use: Pretend Play in a Play Kitchen

Throw them in the wash on a hot cycle and you’ve got yourself a set of super absorbent cleaning cloths. I keep a stack folded in the kitchen to wipe up those little spills that seem to happen pretty frequently with a toddler. My son Mateo also uses them to wipe his hands and face at meals. I can’t tell you how few paper towels we use these days. Since being on quarantine for over six weeks, I still have the same fairly full roll I started with. I don’t plan to go fully paper towel free as I do use them for anything super gross (think snaking the drains) but it’s definitely not a staple item for us any more. And hey if you run out of baby wipes, you certainly could use these as reusable wipes. Also, if you have those tiny, tiny baby wash cloths, you could put them in your child’s play kitchen for pretend play.


Reuse

Number Two: Cotton Nursing Bra Pads

Use: Makeup Remover Pads

Second Use: Nail Polish Remover Pads

I don’t know about you guys, but I found the disposable bra pads to be super itchy and I hated creating waste. So, I bought a pack of six organic cotton pads and they definitely got a lot of use. Whether you used them a lot or a little, if you’re done, consider using them as reusable makeup remover pads. They are super soft, durable and absorbent. I haven’t had to buy cotton balls in ages. I haven’t tried these as nail polish remover pads but if you do, let me know how it goes.


I definitely prefer the reuse to the original!

I definitely prefer the reuse to the original!

Number Three: Breast Pump Flanges

Use: Funnels for Play and Kitchen USE

I know it sounds funny at first and you may have a visceral reaction (I hated pumping) but these guys are essentially funnels and we use them all the time. You can use them for water play or dried rice play or even a marble run for kids who are older. Always supervise, of course.

I use them in the kitchen to pour dried goods like rice and beans into jars. They just come in handy.

Hold on to a couple of these. If you are able to donate your pump and supplies, you likely have plenty of flanges to include even if you save a couple for yourself.

Note that flanges come in a variety of sizes.


Number Four: Bottle and Pump Parts Drying Rack

Use: Drying area for hand washed dishes

I have the Boon grass drying rack that I used for bottles and I just kept it as a drying rack for regular dishes. I like it more than my drying mat alternative and I already had the space set up for it so it just stayed. This is a simple one but I wanted to mention it.


Reuse

Reuse

Number Five: Diaper Pail and Bags

Use: Cat Litter Disposal

Second Use: Child Proof Garbage Pail

If you have a cat, this one is especially great if you’re low on plastic bags like I am but still have your diaper pail and bags. And man, those bags are too expensive to go to waste. Set up a station next to your litter box and scoop the poop right into the bagged pail. Ta da. New use. I never thought I’d be able to reuse something that will always smell a little bit like poop, but there you go. If you have a dog, maybe you could use this at the garage entry or mud room for when you come back from walks or when you pick up poop in the backyard. I don’t have a dog so I’m not into that routine but maybe .. I’m trying to think of anything else poop related and that’s all I’ve got.

This could also simply be used as a garbage pail. My Ubbi one has a lock and I think most other brands do too. My son knows how to open it but it definitely adds a time delay on getting to the trash and at this point, he knows he’s not supposed to open it. This could be great in a child’s room, an office, basement, next to the laundry for all that fluff that comes out, etc.


Reuse

Reuse

Number Six: Boppy Pillows, Pregnancy Pillows, Crib Mattresses

Use: The Ultimate Fort or Cozy Reading Nook

Those long pregnancy pillows are seriously awesome for lining a wall of a reading nook or fort. Boppy Pillows are super comfy for little ones to lean into as well. We have a cozy reading nook that we recently made into a fort and now it’s my son’s favorite play space.

You can’t see it in this photo, but we have two crib mattresses, forming an L shape vertically behind this fort. It’s not really needed, but the extra padding is nice especially because one wall behind this set up is brick. My son also loves to drive his cars down his slide onto a mattress. I think the little bit of height just makes it more fun. Plus, they fall off at the end and that’s always exciting. You could make it a ramp off a couch for toy cars, too. But I hesitate to suggest it because kids would probably try to roll down as well and that would definitely not support their weight.


Number Six: Unusable Old Clothes

Use: Rags

I am all about giving and receiving hand me downs but some pieces are just on their last leg. Cut them up (or not if they’re tiny) and use them for rags. It’s better than just tossing them in the trash.


In summary, your items do not have to go in the trash. If you’re not using them and they can’t be used by another, think about clever ways to reuse or upcycle them. And let me know in the comments below or over on Instagram what you’ve reused or upcycled!


A note on Affiliate Links: This post contains affiliate links. The amazon items linked above are the same price to you, but a small portion gets kicked back to me if you purchase through these links.


For inspiration from our day to day life, follow us over on instagram @plantbasedbaby.us. Here’s a preview below of what you can expect.


DIY Farmhouse Doll Bed {from Ana White}

Farmhouse Doll Bed, Final, before paint

Farmhouse Doll Bed, Final, before paint

This past December I made my nieces farmhouse doll beds based on this DIY from Ana White. If you’re into DIY, let me tell you, her site is the most amazing rabbit hole I have ever been down. I want to make just about everything on it. It’s a super fun place for inspiration so I wanted to shout her out and these doll beds in specific. They are no joke. Perfect for an American girl sized doll. I’ll let you head over to her post linked above for the materials list and instructions but here are a few notes and add on’s from my experience.

Notes:

  • I followed this one to the T which is rare for me. So my only note is to definitely include the optional support beam across the bottom. My toddler got right on this bed as I was making it and so did my nieces when they saw it. It’s small for them but large enough where they think it can support them. And with the beam, it can!

  • I painted them with a white chalk paint and am really happy with the finished look but I also think a wood stain could look beautiful.

  • If you’re having Home Depot do your cuts for you as I did, just make sure to double check them all before you leave. The second from the top piece for the headboard and footboard are a good 1/2 inch short and it’s not my favorite look, but I was already home when I realized this so I went with it anyway. Obviously, during this quarantine, stay home!! I’m not advocating to go buy and cut for this or any other project, but I’m keeping this here in case you read it in the future when hopefully, we’re all back to a normal, safe environment.

Add On’s:

  • Foam Mattress: I bought foam to make a mattress and it really completes the look. I was in a time crunch and am not an expert sewer so I used an old sheet and hot glue to cover it. It was really easy.

  • Bedding and Pillows: I used that same sheet, pillow stuffing and hot glue to make some pillows, and just cut a fleece fabric for bedding. You want the fleece to be the length of the bed and a few inches wider on each side so that it hangs down. Going back, I’d have made my a little wider. I did mine in a Christmas theme because it was a holiday present but it could be cute to get a few different fleeces to change it up based on the season.

  • A Doll: If you’re giving this as a gift, you could definitely pair it with a new doll.

Okay, get to it!

Have you made doll or barbie furniture or accessories? Right now a friend of mine is making miniture things for her daughter’s dollhouse. Think books for the bookshelf, miniature wall art, etc. Lots of felt. I love it.

A note on carpentry and the root chakra - I’ve mentioned before that wood working can help bring the root chakra into balance. I know it sounds a little hokey but why not give it a shot? And definitely check out my last post for more activities to ground yourself and your child. It’s a weird time. Stay safe.

A note on toys and gender - My mom asked me a fair question of why I didn’t make one for my son as well and the truthful answer is time and work. Making three of these at once was no joke. I finished just before the holidays so the focus was Christmas presents. Mateo does have a doll and she came with a little cloth bassinet so I also didn’t think this would be so exciting for him as he already has a little bed for her. I also have one nephew and offered to make one for him but he was only just a year old at the time and my sister didn’t think he would be into it from an age perspective. Hopefully, he can share with his sister as he gets older. All this said, definitely make this for a boy as well!


Did you make this DIY? I’d love to see it! Comment below or tag me on Instagram.


Farmhouse doll beds

Farmhouse doll beds


A note on affiliate links - This post contains affiliate links. The amazon items linked above are the same price to you, but a small portion gets kicked back to me if you purchase through these links.


For inspiration from our day to day life, follow us over on instagram @plantbasedbaby.us. Here’s a preview below of what you can expect.